
Last updated October 15, 2026
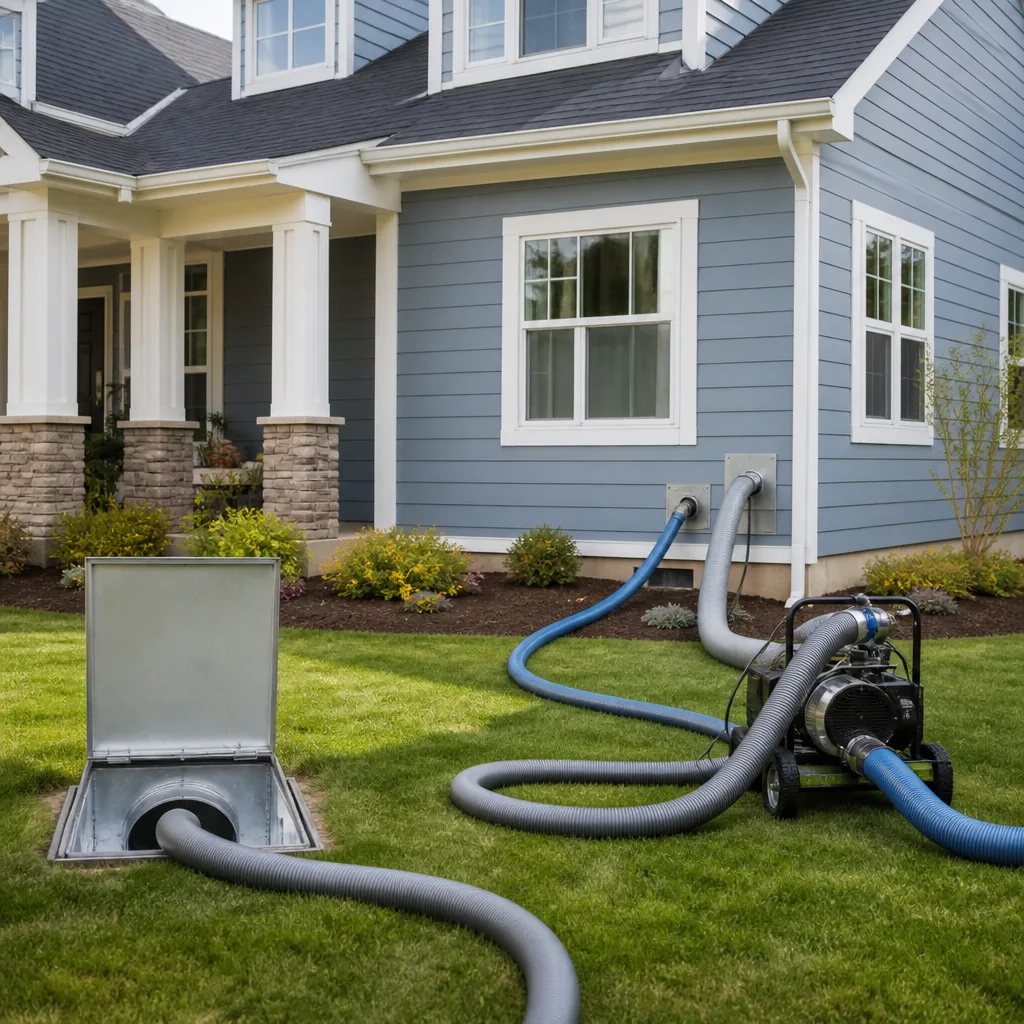 Whole-home duct cleaning
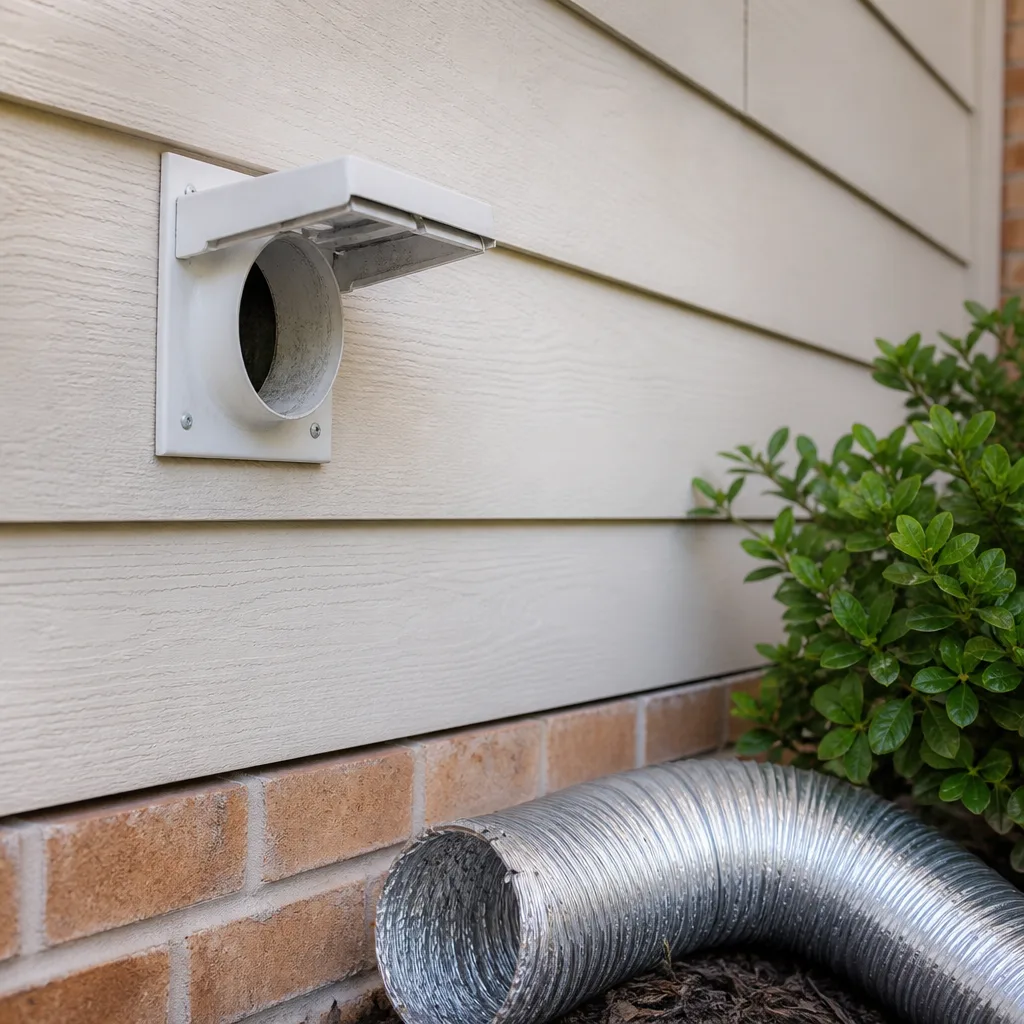 Dryer vent cleaning
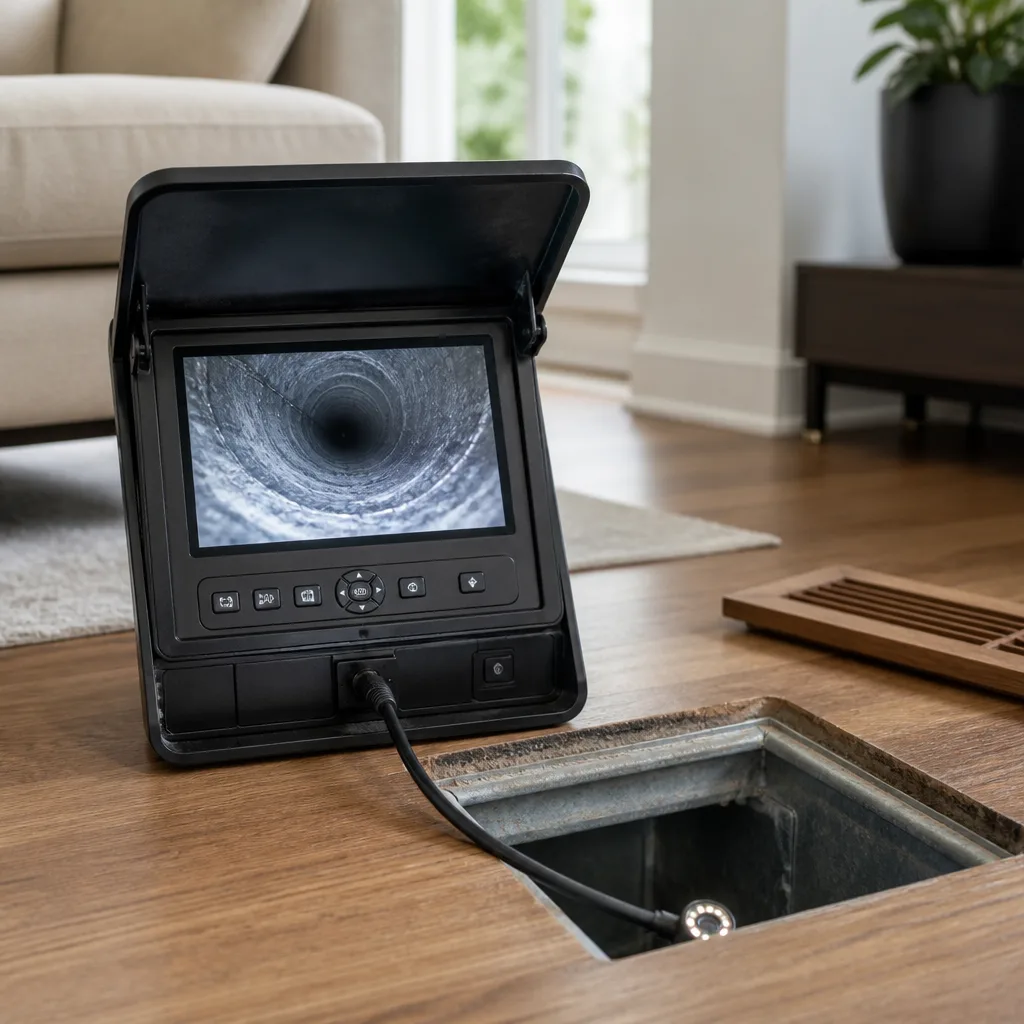 Camera inspection
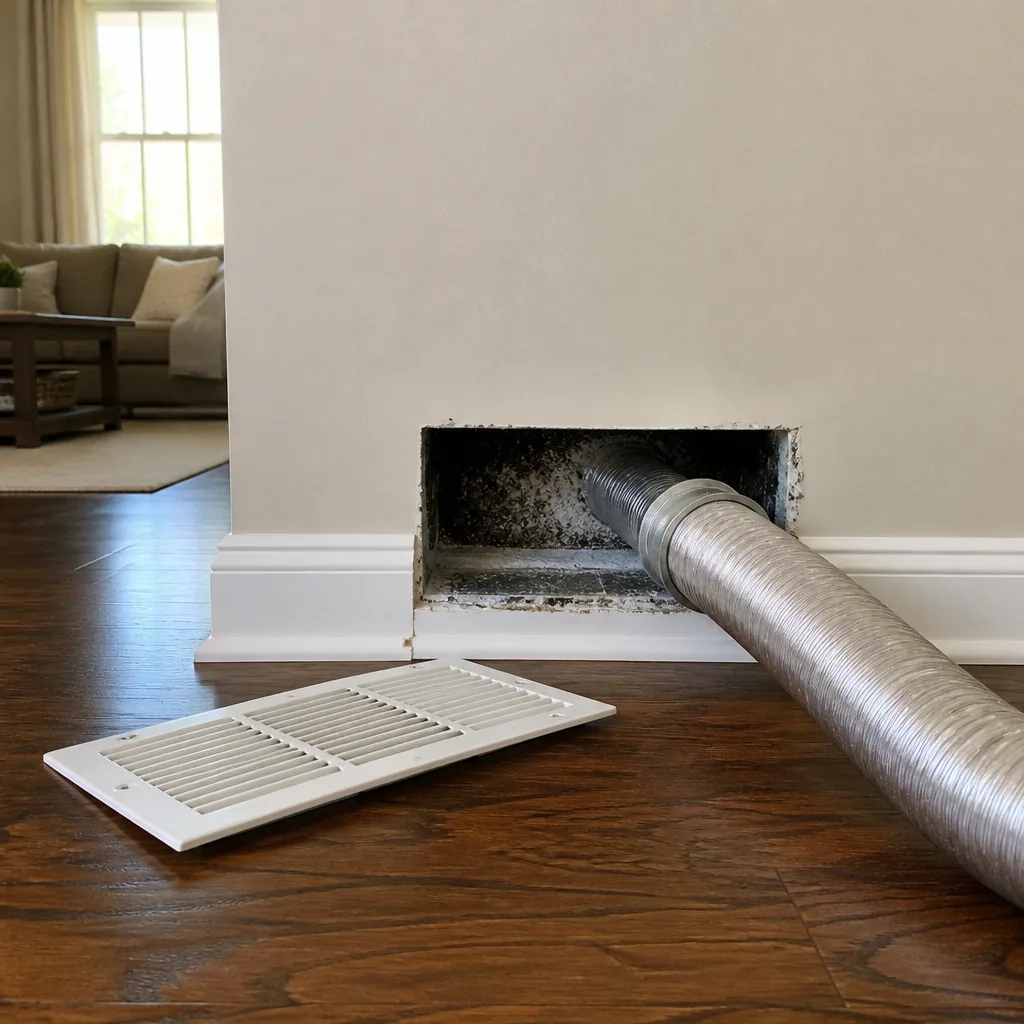 Sanitizing & deodorizing
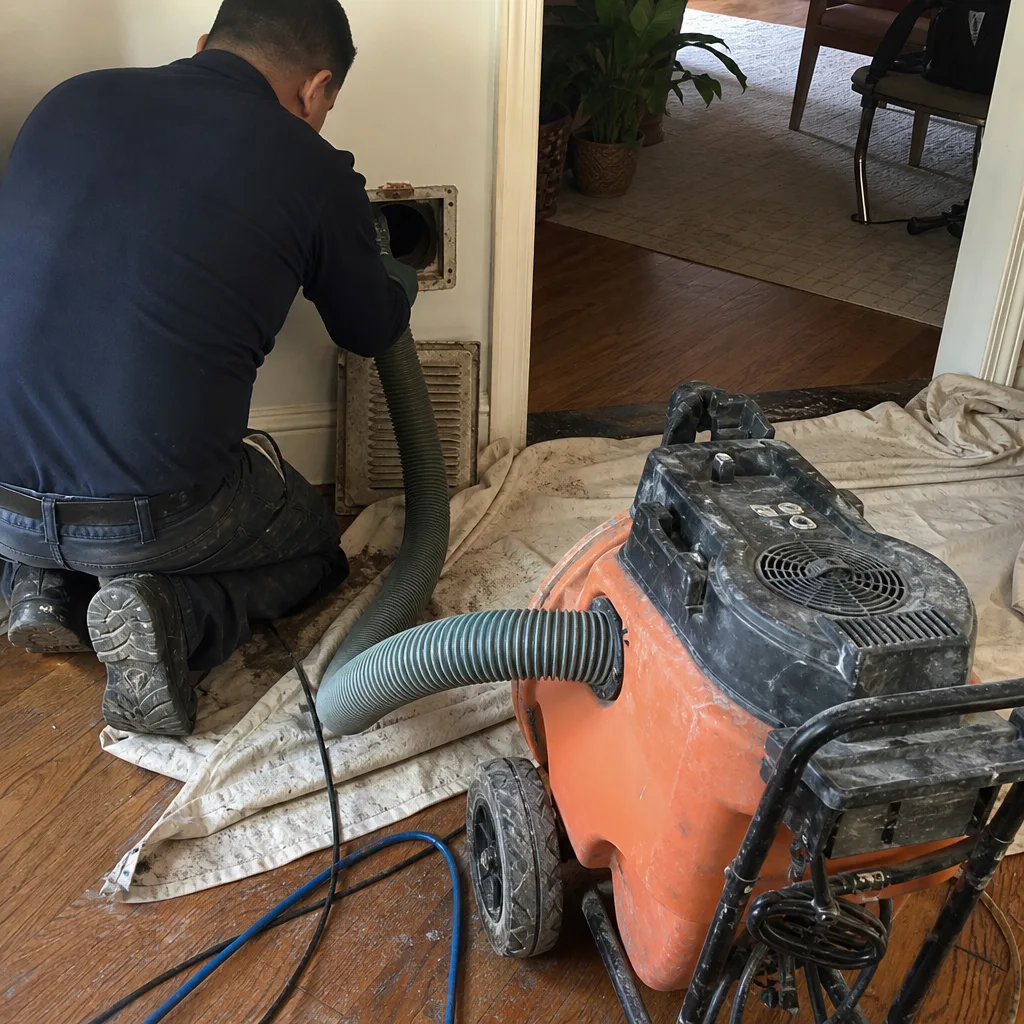
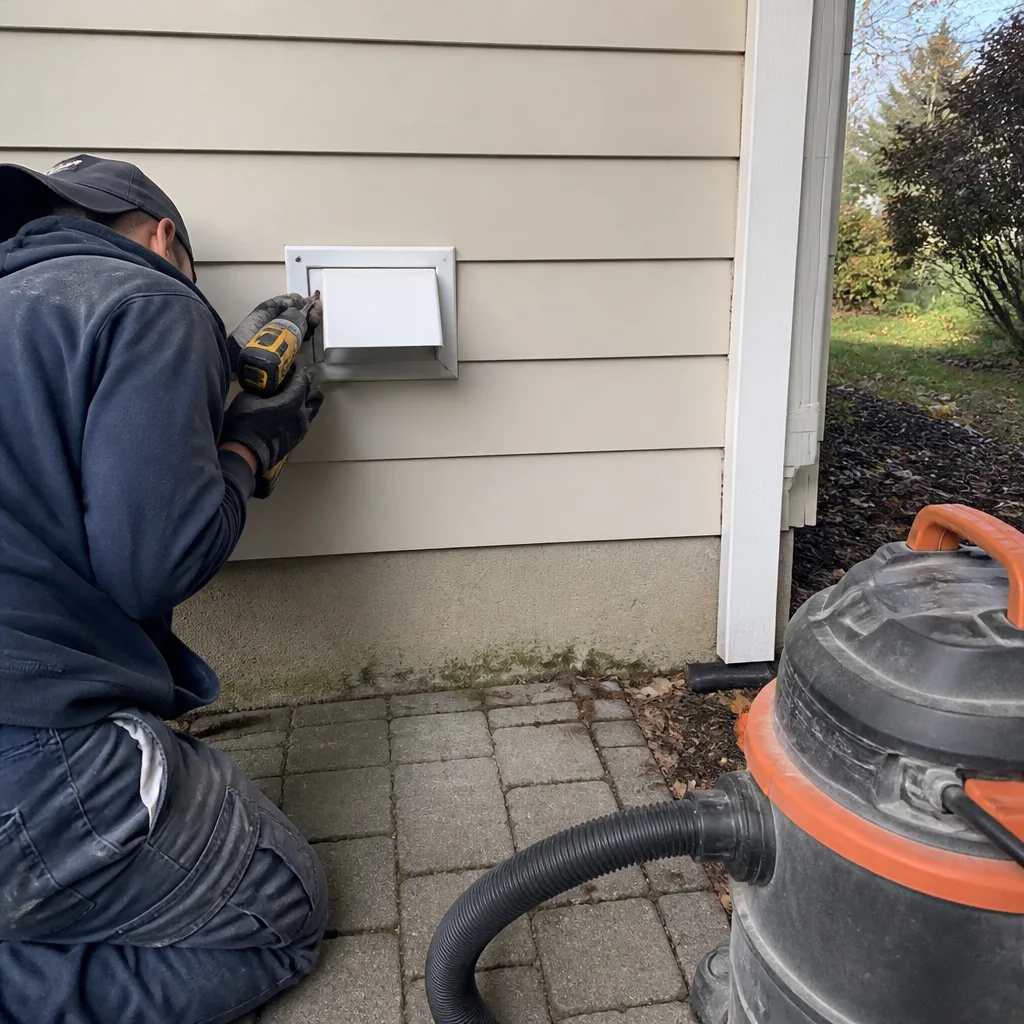
Whole-system duct and dryer vent check with before-and-after photos - you see exactly what came out of your vents
That "$99 whole-house special" is a bait ad - the real number appears once they are in your hallway, or the "clean" is a shop-vac at the register. We photograph the inside of your ducts before and after instead.
Air Duct Cleaning Maintenance Checklist for New York Homeowners
Most maintenance checklists for air ducts are written as if every home sits on a quiet cul-de-sac in a low-density suburb. New York is a different animal. The particulate load here is relentless: diesel exhaust from buses and trucks, fine grit from subway ventilation, construction dust from a skyline that never stops rebuilding itself, and a summer humidity that turns ordinary household dust into a sticky film inside ductwork. This checklist is built for those conditions. You’ll learn what to inspect room by room, how to track filter performance against real air-quality events in New York, and how to tell the difference between dirty ducts and a mechanical problem that no amount of cleaning will fix.
Styles & brands we work with
Quick Answer
An air duct cleaning maintenance checklist for New York homeowners should include monthly visual inspections of supply and return grilles for dust buildup and discoloration, filter replacement every 30 to 60 days depending on proximity to heavy traffic corridors or active construction, a twice-yearly deep check in April and October before the cooling and heating seasons, and documentation of any airflow asymmetry between rooms. If you see visible dust beading at grille edges, smell a musty odor when the system cycles on, or notice rooms that never reach the same temperature as the rest of the apartment or house, schedule a professional evaluation with a company that provides Air Duct Cleaning services and a written price before work begins.
Table of Contents
- Why New York’s Air Is Harder on Ducts Than You Think
- The Room-by-Room Inspection: What to Look For Without Tools
- The Filter Log Method: Tracking Replacement Against Real Air-Quality Events
- Dirt vs. Mechanical Failure: Knowing Which Problem You Actually Have
- Documenting Your Ducts Before a Cleaning Visit
- A Seasonal Maintenance Calendar for New York Homes
- What a Proper Cleaning Should Include (And How to Verify It Was Done)
- Common Mistakes to Avoid
- When to Call a Professional
- Frequently Asked Questions
- The Bottom Line
Why New York’s Air Is Harder on Ducts Than You Think
In our experience cleaning ducts across New York, we’ve pulled the same collection of material from homes in Midtown, the Upper West Side, and Queens: a fine black grit that isn’t ordinary household dust. It’s a mixture of tire wear, brake pad dust, diesel particulate, and the iron-rich powder that drifts up from subway tracks and through sidewalk grates. This stuff is heavier than the dust you’d find in a suburban home, and it behaves differently inside ductwork. Humidity compounds the problem. During a New York summer, relative humidity regularly climbs past 70%, and that moisture causes particulate to adhere to duct walls instead of blowing through. The result is a layer of grime that builds faster, sticks harder, and recirculates odors more noticeably than in drier climates.
What does this mean for maintenance? The standard advice to change a filter every 90 days doesn’t hold up here. Our Kestrel Air Duct New York home team has seen filters in buildings near the BQE or the Cross Bronx Expressway reach maximum load in 30 days during summer construction season. A loaded filter forces the blower motor to work harder against restricted airflow, which pulls more particulate into the system and accelerates buildup inside the ducts themselves. The maintenance task that matters most in this city is monitoring your filter more aggressively than any generic checklist suggests.
The Room-by-Room Inspection: What to Look For Without Tools
You don’t need specialized equipment to perform a useful monthly inspection. You need a flashlight, a damp paper towel, and ten minutes. Walk through each room and check the supply registers (where conditioned air comes out) and return grilles (where air gets pulled back into the system). Here’s the step-by-step inspection process we recommend. For more detail on what a professional cleaning involves, see our guide to Air Duct Cleaning in New York.
- Check grille color at the edges. Look at the perimeter of each supply register, not just the center. Fine dust beads up at the edges first, where airflow is slowest and particulate settles. If you see a gray or brown ring forming around the vents, that’s material that has already cycled through your ducts and is now depositing at the exit point.
- Wipe the inside lip of the register with a damp paper towel. A light gray streak is normal in New York, especially near major avenues. A thick, black, greasy residue means particulate load is high and the duct walls themselves are likely coated. If the residue feels oily, that points to traffic and subway particulate combined with humidity.
- Check return grilles for a visible dust mat. Walk to the return, often located in a hallway or near the thermostat. Hold your flashlight at a low angle. A thin, even layer of dust is maintenance-level. What signals a problem is a felt-like mat of dust that looks like dryer lint. That’s mechanical filtration happening at the grille, which means the filter upstream is either missing, incorrectly installed, or severely overloaded.
- Walk between rooms and note any airflow asymmetry. Stand in each room with the system running. Put your hand near the supply register. If one bedroom has a strong stream of air and another has barely a whisper, that asymmetry is a sign of duct restriction, a damper issue, or a disconnected section, not just normal system behavior.
- Listen for changes in the sound of the system. A properly functioning duct system shouldn’t whistle, rattle, or thump when the blower kicks on. A new whistling sound often means a return is partially blocked and the system is pulling harder. A rattle can indicate a loose register or debris moving inside the duct. Both are worth tracking before they become repair issues.
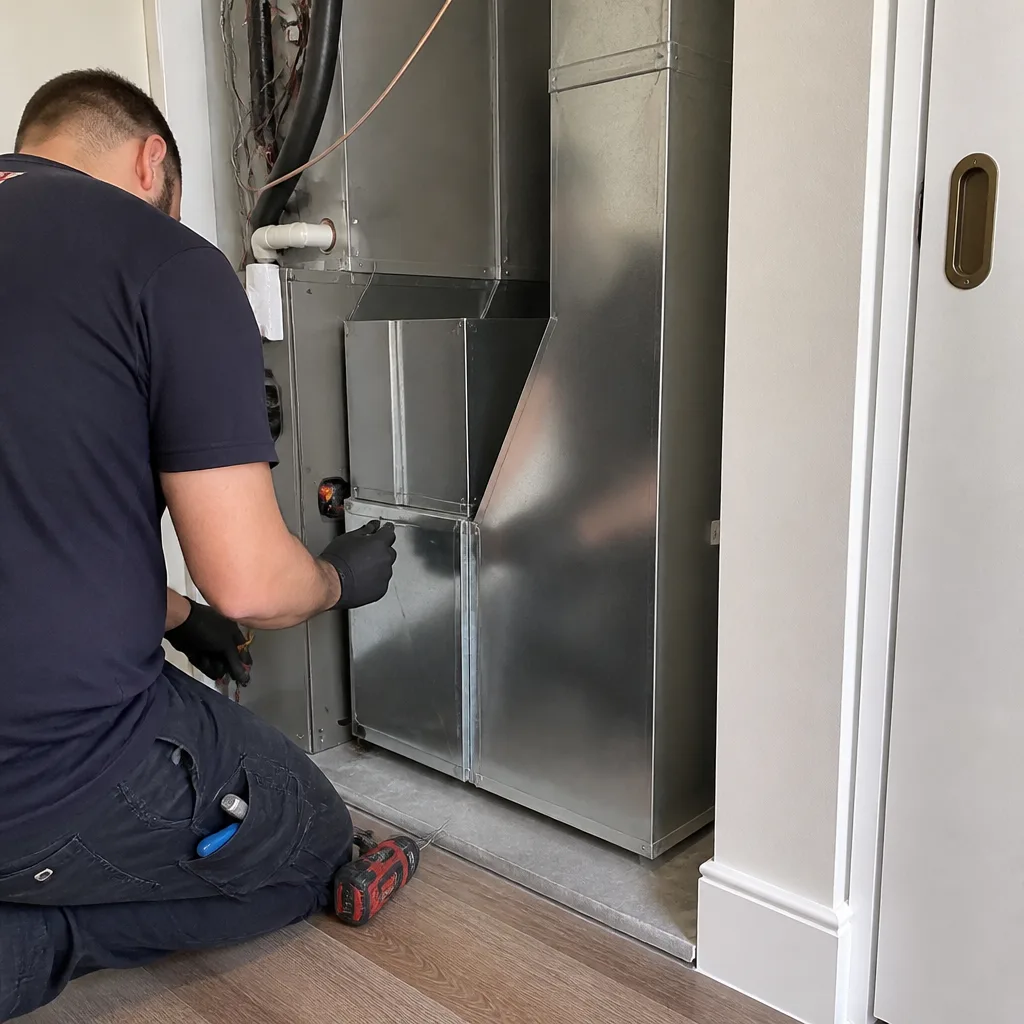
A quick note on safety: inspecting ducts from inside the room is safe and useful. But if you’re tempted to remove a register and reach into the duct itself, or to open an access panel to inspect the blower compartment, stop there. The interior of HVAC systems contains sharp metal edges, rotating components, and in some cases high-voltage connections. Leave internal inspection to a trained technician. What you’re documenting from the room side is enough to make an informed decision.
The Filter Log Method: Tracking Replacement Against Real Air-Quality Events
Filters don’t degrade on a neat 90-day schedule, and relying on a fixed interval is how you end up running a clogged filter for weeks without knowing it. The better approach is a simple log combined with awareness of what’s happening in New York’s air on any given month. Here’s how to do it:
- Write the installation date on the filter frame with a permanent marker. This gives you an instant reference every time you look at the return grille. When you pull a filter that was installed on June 1 and today is July 5, you know exactly how long it’s been in service.
- Check the filter visually every two weeks during summer and winter, monthly during spring and fall. Hold the filter up to a light source. If you can still see the light through the filter media, it has remaining capacity. If the light is blocked and the filter appears solid, it’s done regardless of what the calendar says.
- Correlate your checks with known New York air-quality stressors. August ozone days make filters work harder as they capture secondary particulate. Spring and summer construction surges, especially near large development sites, spike particulate levels for months. Subway ventilation work and street repaving in your neighborhood add acute dust loads. All of these show up on your filter within two to three weeks. If you don’t track these events, you’ll miss why your filter loaded up in half the usual time.
- Keep a running note on your phone or in a paper log. Record the date, filter MERV rating, and what you observed: “July 14, MERV 8, heavy gray coating, replaced after 32 days.” Over a full year, this log becomes a valuable diagnostic record. It tells you which seasons are hardest on your system and whether your filtration strategy matches your actual conditions.
- Match the filter to the reality of your building. A MERV 8 filter is the baseline for most residential systems in New York. If you live within two blocks of a major traffic artery like the FDR Drive, the BQE, or the Cross Bronx, or if your building is adjacent to an active construction site, you may benefit from stepping up to a MERV 11, but only if your blower is rated for the increased resistance. This is worth confirming with a professional. Products from Honeywell and Aprilaire offer a range of options for homes with different airflow capabilities.
One more thing: if you have the system running while cooking frequently, especially with gas burners, or if you live with pets that shed heavily, expect filter life to drop by 30 to 50 percent. Adjust your check frequency accordingly. The filter log method gives you a real picture of that, instead of a guess.
Dirt vs. Mechanical Failure: Knowing Which Problem You Actually Have
Not every duct problem is a cleaning problem. In fact, one of the most important things a homeowner can do before paying for any service is figure out whether the symptoms point to dirt or to a mechanical issue. The treatments are different, and no amount of duct cleaning will fix a failing blower motor or a refrigerant leak. Here’s how we distinguish them in our experience:
- Dust that returns within days of cleaning. If you clean the room, dust the furniture, and within 48 hours there’s a fresh layer of fine dust on horizontal surfaces, especially near the supply registers, that’s often a filter problem, not necessarily a duct problem. The system may be pulling unfiltered air through gaps in the filter frame or a bypass around the return. This requires filter inspection and sealing, not another cleaning.
- Rooms that never reach temperature regardless of how long the system runs. If one bedroom is always 8 degrees warmer in summer or colder in winter, and the supply register in that room has weak airflow, that points to a restriction, a damper that’s closed, or a duct run that’s undersized. A cleaning may help if the restriction is debris, but many of these cases turn out to be mechanical or design issues. A professional should diagnose it before you spend on cleaning.
- A musty or stale odor that persists after filter replacement. This is one of the more reliable signs that internal duct surfaces are coated with organic material: dust, skin cells, pet dander, and moisture-driven microbial growth. In New York’s humid summers, this is common in buildings where tenants kept windows open while the AC ran, pulling moist air into the return. This is a cleaning issue, and it’s usually resolved with proper source removal by a company using negative-air extraction.
- Squealing, grinding, or banging from the air handler. These are mechanical sounds from the blower assembly, motor bearings, or a loose belt. Nothing about cleaning the ducts addresses them. Call an HVAC technician. The sooner you address these sounds, the less expensive the repair, because a failing bearing can damage the motor shaft or blower wheel.
- Higher energy bills with no change in usage. If your Con Edison bill is trending up in a way that doesn’t match the weather or your usage habits, a restricted duct system is one possible cause. When ducts are partially blocked, the blower runs longer to reach the thermostat setpoint. Cleaning may recover some of that efficiency, but a good technician should also inspect the coil, the filter setup, and the duct runs for leaks before concluding that dirt is the culprit.
Documenting Your Ducts Before a Cleaning Visit
If you decide to have your ducts cleaned, how do you know the work was actually done? The industry has a reputation problem, and we understand why. Some companies quote a low price, spend 45 minutes in the house, and the homeowner has no way to verify anything changed. This is why we recommend creating a before-cleaning baseline. Here’s what to document:
- Photograph every supply register and return grille before the service date. Use your phone, good light, and get close enough to capture the dust ring at the edges. These photos are your record of what the vents looked like before. After the cleaning, compare them. A legitimate cleaning will show a visible difference at the grilles because the system is no longer pushing dust outward.
- Photograph the filter in place and then removed. Capture the condition of the filter, including any dust mat, discoloration, or presence of large debris. After the service, a new filter should be installed. If the company leaves your old loaded filter in place, that’s a red flag, because the cleaned ducts will immediately begin recirculating through a dirty filter.
- Write down any odors, the date you noticed them, and which rooms they’re strongest in. Notes like “musty smell from master bedroom return when AC cycles on, June to August” are useful for the technician and serve as a before record. After cleaning, run the system and note whether the odor is gone. A good cleaning removes the source; it doesn’t mask it.
- Note any specific symptoms you’ve observed: excessive dust on furniture, allergy symptoms that worsen at home, one room with weak airflow, a filter that loads unusually fast. This gives the technician a diagnostic checklist and tells you what success looks like.
- Get the price in writing before work starts. This is non-negotiable. Any company that balks at putting a fixed price in writing before touching a vent is one to avoid. The price should describe exactly what’s included: how many vents, what the access method is, what equipment will be used, and what the post-cleaning verification process looks like.
This documentation matters beyond the day of the service. If a company offers a guarantee, like our 365-Day Done Right Promise, these photos and notes are how you establish that a problem developed after the cleaning rather than existing before it. It’s the difference between a guarantee you can invoke with confidence and one that’s just words on a brochure.
A Seasonal Maintenance Calendar for New York Homes
Here is a simple annual calendar, one of our more guides & resources, keyed to the specific rhythm of New York’s seasons. It tells you what to check in April before the AC season fires up, and what to check in October before the heating season begins. These are the two critical windows, plus the lighter checks in between.
April: Pre-Cooling Season Check
- Replace the filter regardless of how recently you last changed it. Going into AC season with a fresh filter is the single cheapest maintenance action you can take. It protects the coil and keeps the blower from working harder than necessary all summer.
- Inspect every supply register and return grille for the previous winter’s dust accumulation. Run your room-by-room inspection from earlier in this guide. If you see heavy buildup, schedule cleaning before the humidity arrives. Cleaning in April means you install a fresh filter and clear duct walls before the July heat forces the system into constant operation.
- Check for window AC units or air leaks that could pull humid outdoor air into the return. New York apartments and older homes frequently have gaps around window frames, especially in pre-war buildings. When the AC runs, any negative pressure in the apartment will draw humid air through these gaps and into the duct system, feeding the kind of sticky buildup that’s hardest to remove.
- Smell each return when the fan first cycles on. A stale, damp smell in April that wasn’t there in February can indicate that late-winter condensation left moisture inside the duct runs. This is worth addressing before the system runs continuously for four months.
October: Pre-Heating Season Check
- Replace the filter again. After four months of summer operation, your filter has been the primary defense against New York’s summer particulate. It’s done. Put in a fresh one before you switch the system to heat.
- Inspect the return grilles more carefully than the supply registers. In winter, the system pulls more air from inside the apartment, which means the returns are doing heavier work. Dust that accumulated over summer gets drawn toward the return grilles and can form the felt-like mat described earlier. If you see it, that’s a pre-heating season cleaning signal.
- Check for any signs of pest activity at exterior vents or in mechanical rooms. As temperatures drop, mice and other rodents look for warm spaces, and duct systems in older New York buildings can offer entry paths. Look for droppings, nesting material, or scratching sounds when the system cycles.
- Test the system with heat for one full cycle before you actually need it. You want to know in October whether there’s a burning-dust smell (normal if the heat exchanger has been idle, should dissipate quickly) versus a persistent odor that suggests buildup on the coil or inside the ducts. Better to discover a problem at 60 degrees than at 20.
December and March: Light Checks
- Replace or inspect the filter mid-winter and early spring. These are the two months where particulate loads often spike: December from holiday cooking and closed windows trapping indoor dust, March from late-winter dryness and static electricity that keeps particles airborne.
- Do a quick grille appearance check. Two minutes per room. Look for dust beading, streaks, or discoloration you haven’t seen before. This catches problems between the two major seasonal windows.
What a Proper Cleaning Should Include (And How to Verify It Was Done)
A legitimate professional air duct cleaning is not a vacuum hose waved at a few registers. It’s a source-removal process that pulls debris from the entire duct system under negative pressure. Here’s what that means in plain terms, and how to verify it on the day of the service:
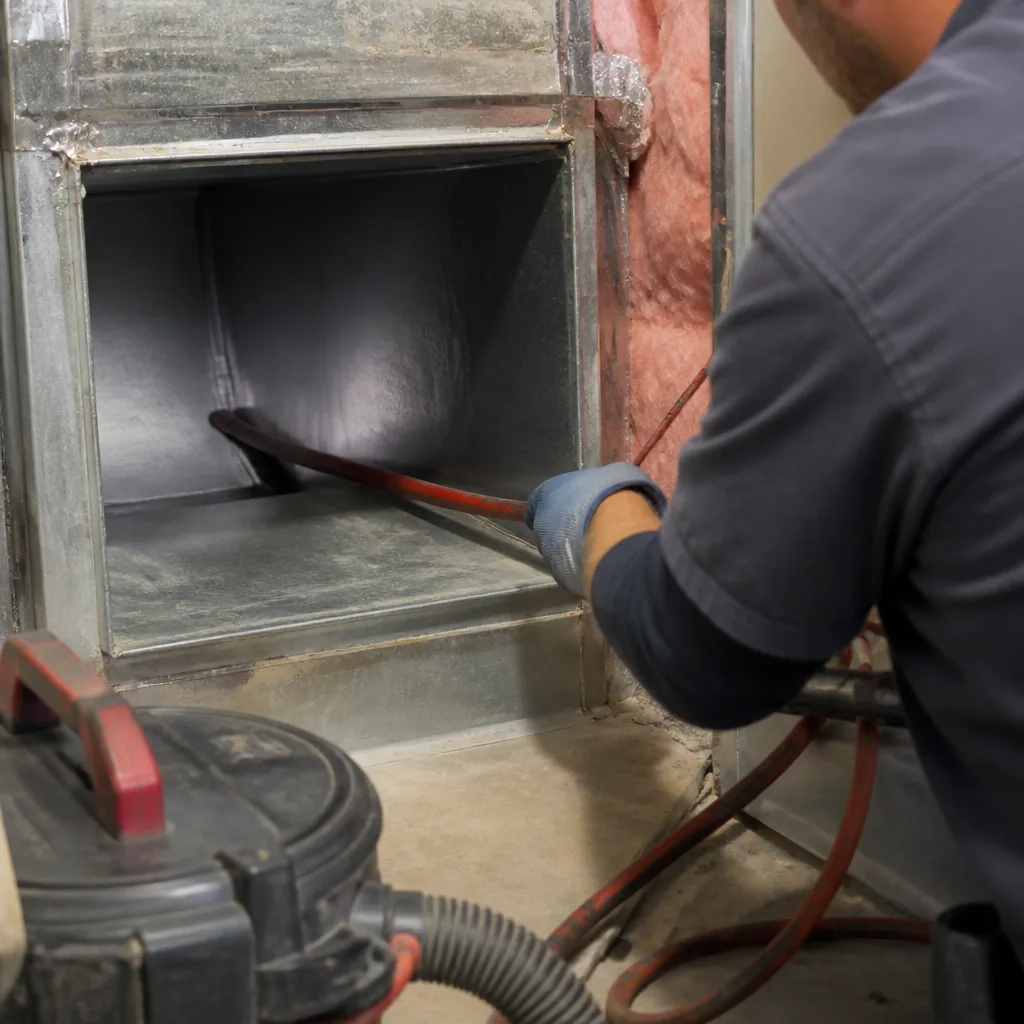
- Brush agitation at the duct wall. Equipment like Rotobrush rotary brush systems use spinning bristles to dislodge debris that has adhered to the interior surfaces of the duct. This is important because simply sucking air through a duct won’t remove the sticky film that builds up in humid New York summers. The brush gets it loose.
- Negative-air extraction. A Nikro negative-pressure unit connects to the duct system and pulls air out of the entire run while the brushing happens. This keeps loosened debris from blowing into your living space. Think of it like dental suction: the brush loosens, the suction removes.
- HEPA filtration during the process. Equipment from Abatement Technologies provides HEPA-level filtration so that particles captured during cleaning don’t get exhausted back into your apartment. In a city where outdoor air is already a particulate source, you don’t want the cleaning itself adding to the load.
- Before-and-after access documentation. A quality company should be able to show you what the inside of your ducts looked like before and after, either through photos from the access points or through a camera inspection. If a company offers no verification, you’re taking their word for it, and the word of a technician is not a deliverable.
After the service, run your system and do your own verification. Check the grille edges you photographed. Sniff each return. Feel the airflow in the room that was weakest. If the company provides a written guarantee, which we do through our 365-Day Done Right Promise, that guarantee should be part of the written price document you receive before work starts. The Kingswell Way is the code we operate under: say the price, show up in the window we gave, leave the place cleaner than we found it, put the guarantee in writing, and come back if it fails. We mention this because a guarantee should never be verbal. If the company can’t point you to the exact words in writing, it doesn’t exist.
Common Mistakes to Avoid
- Believing the “every 90 days” filter rule applies everywhere. In many parts of New York, especially near major traffic corridors and construction zones, a filter can hit maximum load in 30 to 45 days. Check your filter based on its actual condition, not the calendar. A loaded filter is the single fastest way to accelerate duct contamination.
- Using the cheapest 1-inch fiberglass filter you can find. These filters are designed to protect the equipment, not your air quality or your duct surfaces. They trap large particles and let the fine particulate pass through to deposit inside the ducts. For a New York home, a MERV 8 pleated filter is a better baseline, with a step up to MERV 11 where the system allows.
- Ignoring a musty odor because “it goes away after a few minutes.” That odor is present on every cycle, and it indicates material in the ducts that’s holding moisture and supporting microbial growth. In New York’s humid climate, this doesn’t resolve on its own. The longer it goes unaddressed, the more embedded the material becomes.
- Assuming weak airflow in one room is “just how the system is.” When one room is consistently warmer or colder than the rest, something is restricting that duct run: a damper, a disconnected section, or accumulated debris. The system isn’t supposed to work that way. A professional evaluation will identify which of the three it is, and cleaning may resolve it if debris is the cause.
- Hiring a duct cleaning company based on a coupon price without asking what’s included. The standard pattern in this industry is a low teaser price that becomes a far larger invoice once the technician arrives and discovers “additional problems.” A fixed written price per system, agreed before work starts, is the only protection you have. If a company won’t commit to that, walk away.
- Not documenting anything before the service. If you have no photos of the grilles, no notes on the odors, and no record of the filter condition, you have no way to verify the work or hold anyone accountable afterward. Ten minutes of documentation before the visit gives you real leverage on the back end.
- Skipping dryer vent maintenance while focusing only on air ducts. The dryer vent is a separate system with its own maintenance needs, and in New York, lint-clogged dryer vents are a significant fire risk in buildings where vent runs are long and difficult to access. Our guide to Dryer Vent Cleaning in New York covers what homeowners need to know, including the signs that a cleaning is overdue and how to verify it was done properly.
When to Call a Professional
A monthly inspection routine will catch most problems early, but there are specific situations where professional involvement is the right call. Read our Air Duct Cleaning Warning Signs: A New York Homeowner’s Reference Guide for more detail. Call a professional if you see a felt-like dust mat forming on return grilles within weeks of replacing the filter, if a musty odor persists after every filter change, if rooms show consistent temperature differences you can’t explain, if dust returns within days of cleaning surfaces, or if you’ve never had the ducts cleaned and the building is more than 15 years old. In any of these cases, a professional evaluation with camera inspection will tell you what you’re dealing with. Never attempt to clean duct interiors yourself: reaching into ductwork risks contact with sharp metal edges, and household vacuums don’t create the negative pressure needed to remove debris effectively. Kestrel Air Duct New York offers free estimates in New York. Call (585) 517-2324 and you’ll get a written price before any work begins, with no obligation.
Frequently Asked Questions
In our experience, most New York homes need professional air duct cleaning every 3 to 5 years, but several factors shorten that interval. Homes within a few blocks of major traffic arteries like the FDR Drive, the BQE, or the Cross Bronx Expressway, or buildings adjacent to long-term construction sites, often need cleaning every 2 to 3 years. Homes with pets, homes where residents smoke, and apartments in older buildings with humid summers also fall on the shorter end. The best signal isn’t a calendar; it’s the condition of your filters and the visible state of your grilles. If your filter loads to capacity in under 45 days and grille edges show heavy dust beading despite regular filter changes, a cleaning is overdue. For an exact assessment, call (585) 517-2324 and we’ll give you a straight answer, not a sales script.
For a typical New York apartment or single-family home, a professional whole-system air duct cleaning using negative-air extraction and rotary brush agitation runs between $450 and $900 depending on the number of vents, the accessibility of the system, and the level of contamination. Smaller apartments with fewer vents fall at the lower end; larger homes or systems with multiple returns fall at the higher end. This is the honest range for a legitimate source-removal cleaning, not a shop-vac treatment. Any quote significantly below this range should make you ask what’s actually included. Kestrel’s model is one flat price per system, agreed in writing before any work begins, with no per-vent add-ons and no door-step revisions. Call (585) 517-2324 for an exact quote. Estimates are free.
Cheap duct cleaning quotes almost always mean one of two things. Either the company is doing a surface-level treatment: vacuuming visible dust from register openings without accessing the full duct interior and without negative-air extraction. Or the low price is a foot-in-the-door tactic that will be revised upward once the technician arrives and discovers “unexpected conditions.” The legitimate price for a proper whole-system cleaning reflects the cost of professional-grade equipment, background-checked technicians, and the time required to do the job correctly. If a quote seems too good to be true compared to the $450 – $900 range most New York homes fall into, it probably is. Ask the company to describe exactly what equipment they use, what access method they’ll employ, and whether the written price covers the full system or just a basic package.
The most reliable way is to document your system before the service and verify it after. Photograph every grille and the filter, note any odors, and record which rooms had weak airflow. After the cleaning, compare your photos, run the system, and check whether the symptoms you documented are gone. A quality company will also provide post-cleaning verification, often through camera inspection photos from the access points or before-and-after images of the duct interior. If a company offers none of this and simply says “we cleaned it,” you have no way to verify the claim. Kestrel’s 365-Day Done Right Promise is written into the price document you receive before work starts, which means you have a specific, written standard to hold us to for a full year after the service.
Yes, and in some New York apartments it matters more than in suburban homes. Many apartments share building-wide ventilation shafts or have duct runs that pass through common spaces, which means one apartment’s particulate load can affect others. Apartments in older buildings often have original ductwork that hasn’t been cleaned in decades, and New York’s combination of street-level particulate and summer humidity creates the exact conditions that cause buildup inside those ducts. For allergy sufferers, for people with respiratory conditions, and for anyone who notices dust accumulating within days of cleaning, a professional duct cleaning is a tangible improvement. The key is finding a company that treats an apartment job with the same equipment and thoroughness as a house, not one that scales down the service to match the square footage.
No, and we say that as a company that would benefit from telling you otherwise. The interior of a duct system is inaccessible to any tool you own. Household vacuums don’t generate the negative pressure needed to pull debris from the full length of a duct run, and the sticky film that forms on duct walls in humid conditions requires rotary brush agitation to dislodge. Reaching into ducts with a vacuum wand risks damaging the duct material, especially in older buildings with aging joints. And if you don’t seal the system properly while cleaning, you can loosen debris and blow it into your living space where it settles on every surface. This is a job for a professional with the right equipment and the right training. Get a written price first, and compare it to the industry standard before you commit.
The Bottom Line
A useful air duct maintenance checklist for New York is specific about what to inspect, when to inspect it, and what to do with what you find. Check grille edges monthly for dust beading, replace filters based on actual condition rather than a fixed 90-day rule, and pay attention to your home’s position relative to traffic and construction. Document everything before any professional service so you have a baseline for verification and a written guarantee you can hold a company to. See Air Duct Cleaning Permits, Codes & Inspections in NY: What You Need to Know for regulatory context. The goal isn’t just cleaner air in the abstract. It’s lower energy use, fewer dust cycles, and a system you can trust through a New York summer and winter. If you’re seeing signs that a cleaning is overdue, get a written price first. That’s the whole game in this industry, and it’s the standard we’ve held ourselves to since 2004.
Written by Dale Whitmore, Owner at Kestrel Air Duct New York, serving New York since 2004.
See the difference
 Before
 After
After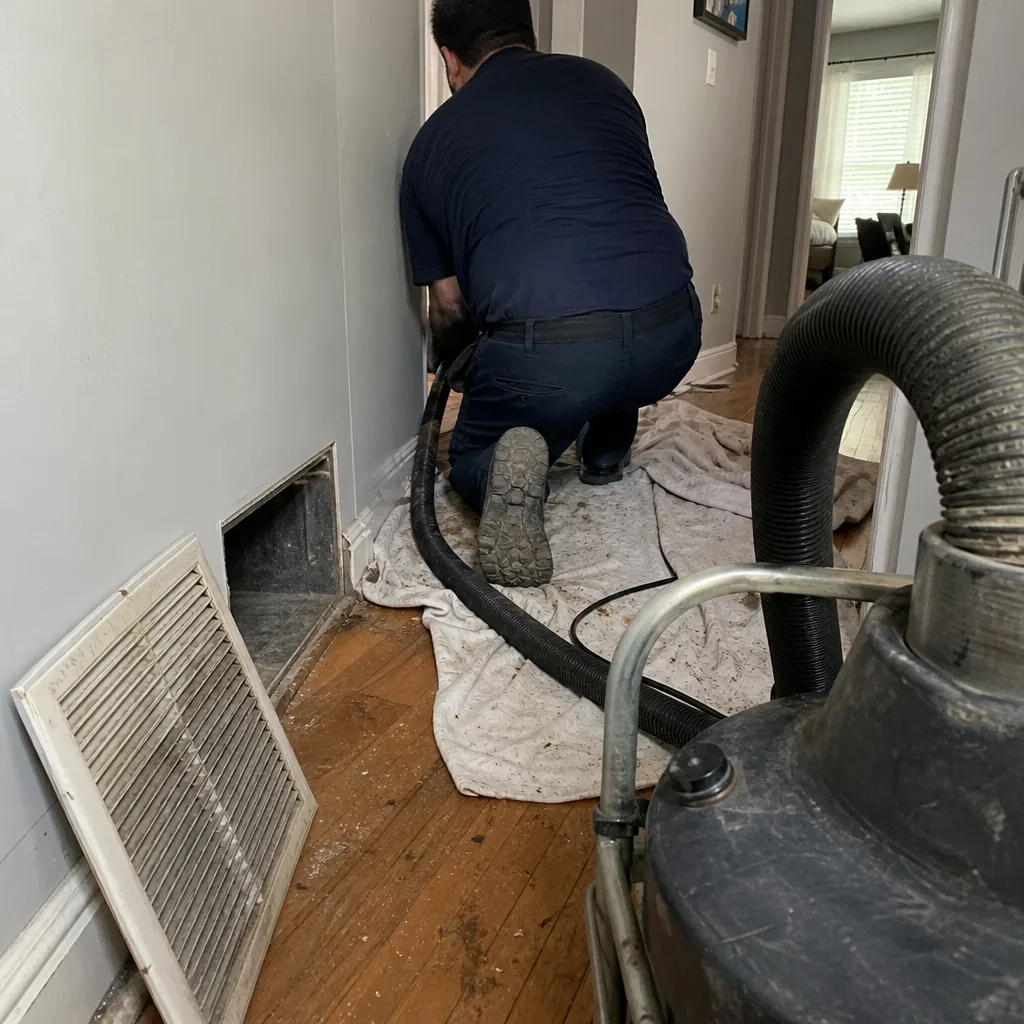 Before
 After
After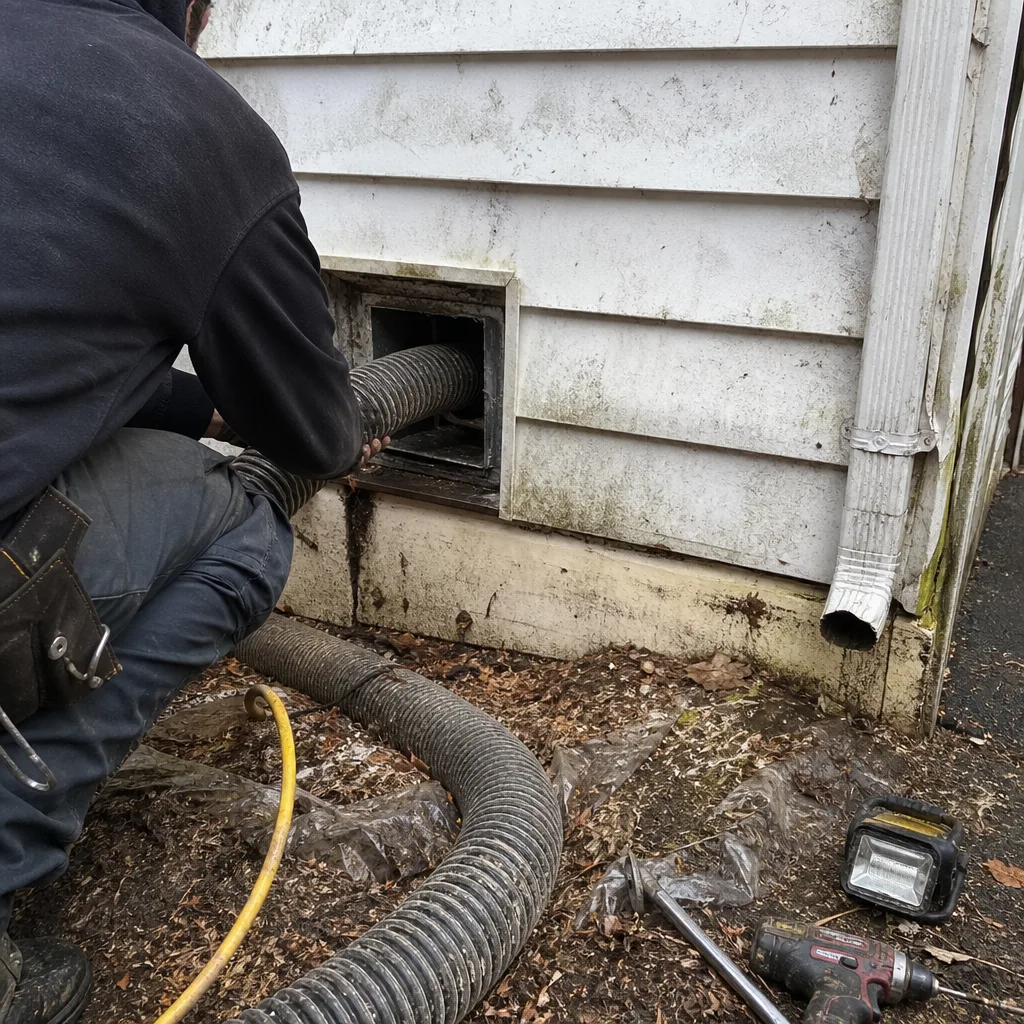 Before
 After
After