
Last updated October 15, 2026
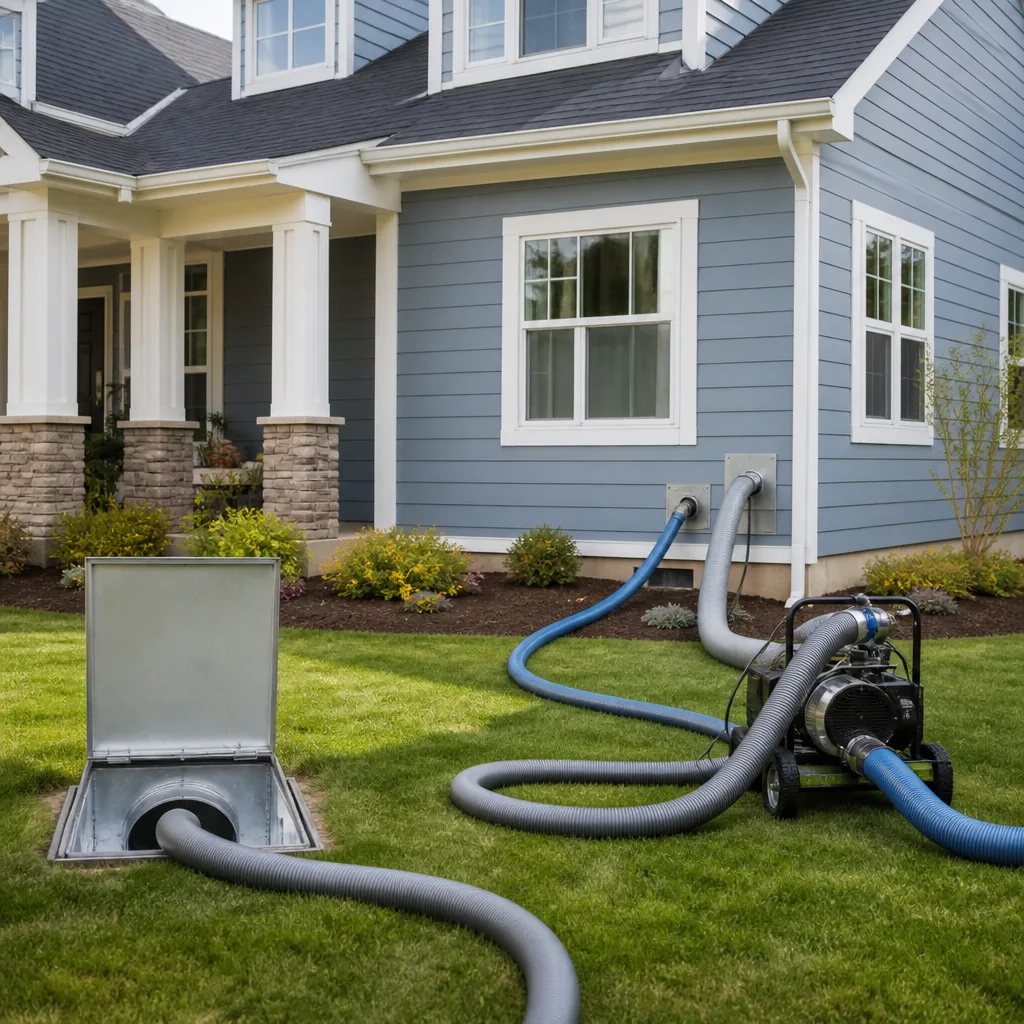 Whole-home duct cleaning
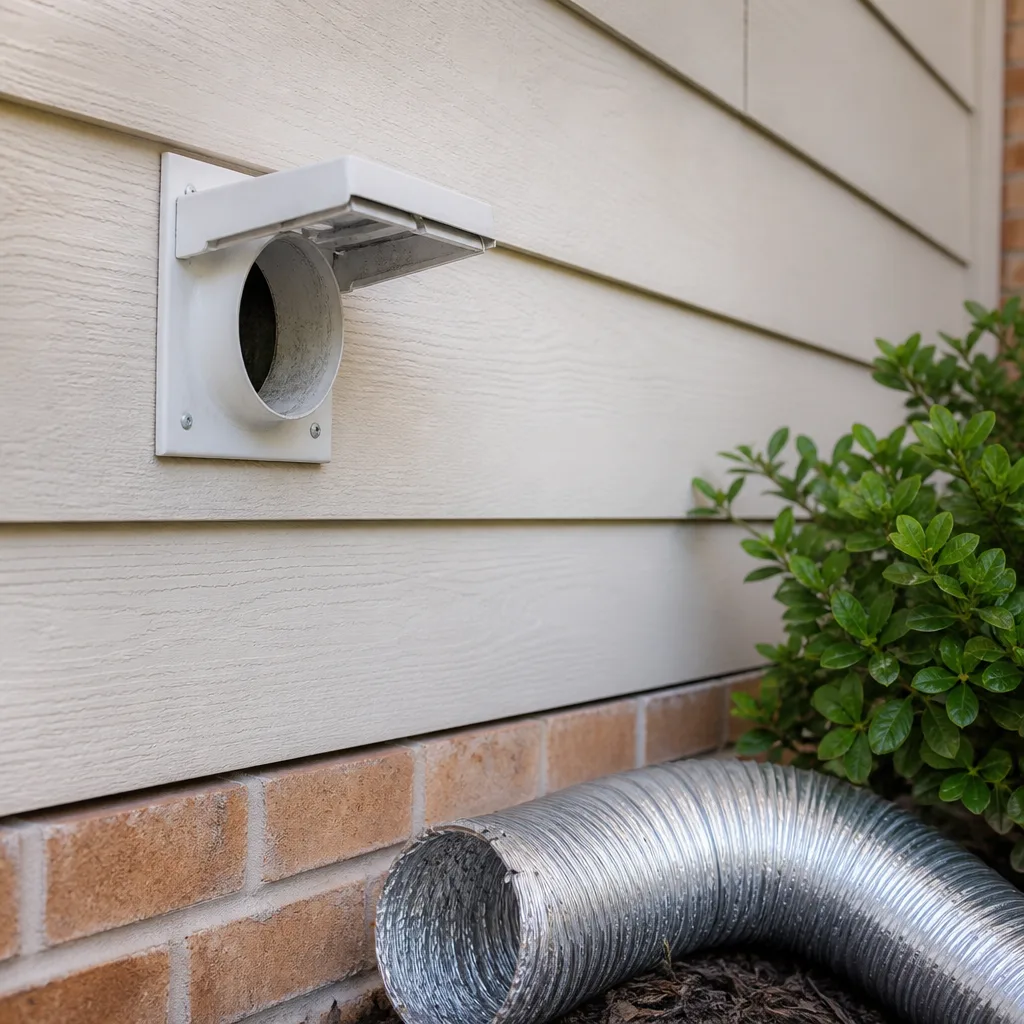 Dryer vent cleaning
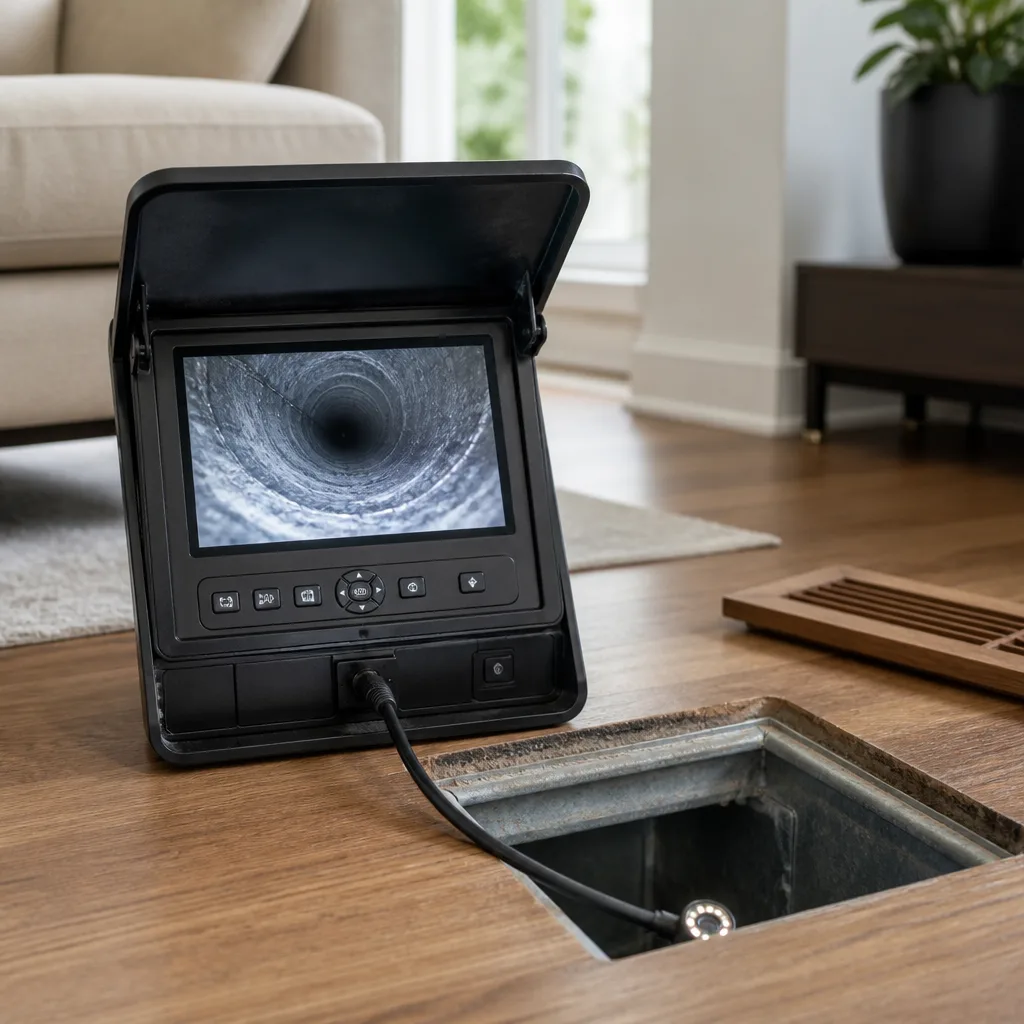 Camera inspection
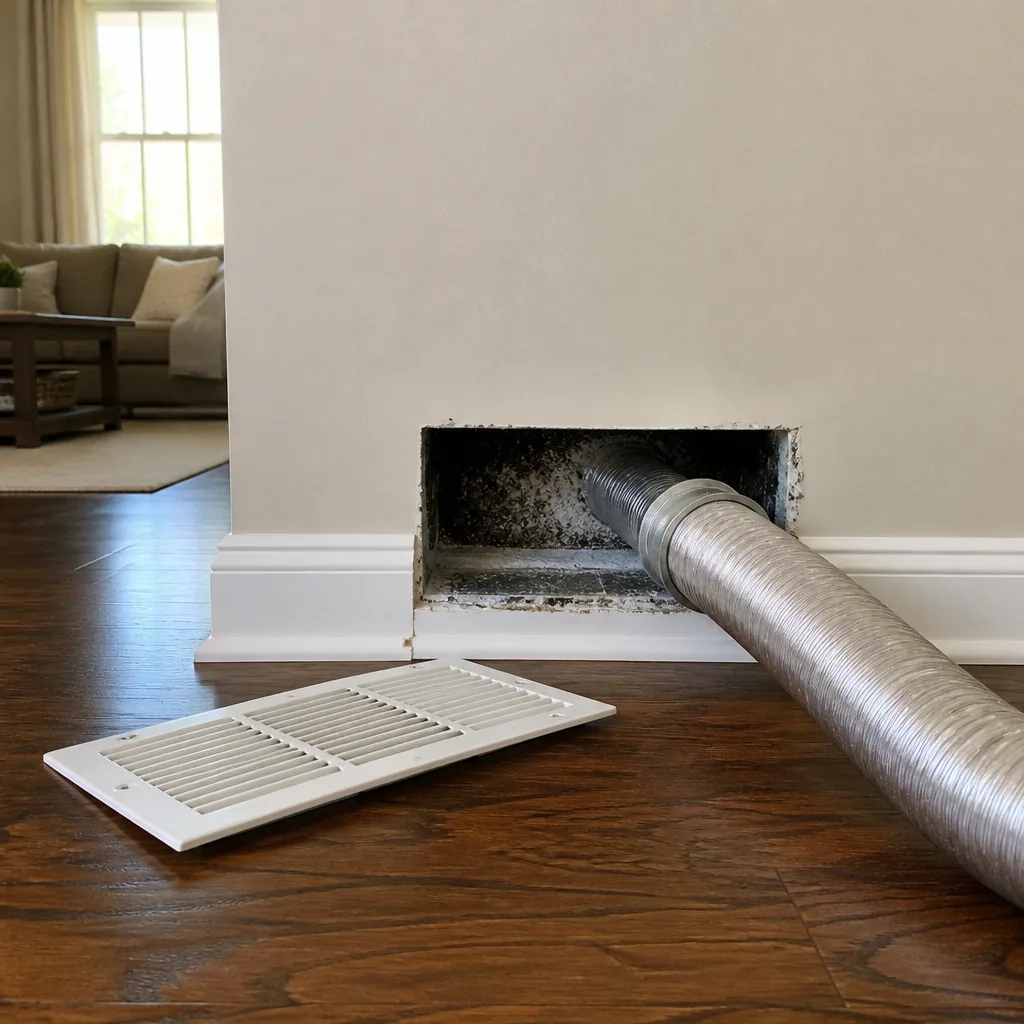 Sanitizing & deodorizing
Whole-system duct and dryer vent check with before-and-after photos - you see exactly what came out of your vents
That "$99 whole-house special" is a bait ad - the real number appears once they are in your hallway, or the "clean" is a shop-vac at the register. We photograph the inside of your ducts before and after instead.
DIY vs Professional Air Duct Cleaning: The New York Homeowner’s Decision Guide
Every year, about 40 percent of New York homeowners who try cleaning their own air ducts end up calling a professional anyway. The reason isn’t laziness or lack of mechanical skill. It’s that the tools available at home improvement stores simply cannot create the air pressure differential that makes real duct cleaning work. The YouTube videos showing drill-mounted brush kits spinning through a supply vent aren’t lying about what they remove. But they never show what happens to the debris those brushes miss, or push deeper into the system, because nobody films that part. In the next ten minutes, you’ll learn exactly where the line between DIY maintenance and Air Duct Cleaning services sits for New York homes, what each approach actually costs, and how to make the call for your specific system without wasting money on either side.
Styles & brands we work with
Quick Answer
For New York homeowners, the DIY-versus-professional decision on air duct cleaning is mostly settled by one mechanical fact: a shop vac and a brush kit can reach the first few feet of ductwork, but only negative-air extraction equipment creates the vacuum force that holds the entire system under suction while debris is dislodged. The DIY work that genuinely helps between professional cleanings consists of grille face vacuuming, diffuser wiping, and filter seat checks. The interior duct cleaning itself belongs to a professional with truck-mounted or high-powered portable negative-air equipment, not because it’s difficult to spin a brush, but because the brush alone pushes as much filth deeper into the system as it removes.
Table of Contents
- What Professional Equipment Actually Does That a Shop Vac Cannot
- The DIY Tasks That Genuinely Help Between Professional Cleanings
- Why New York Duct Geometry Defeats Brush Kits
- The Honest Cost Comparison: DIY vs Professional
- How to Evaluate Your Specific System Before Deciding
- What the DIY Videos Don’t Show
- Common Mistakes to Avoid
- When to Call a Professional
- Frequently Asked Questions
- The Bottom Line
What Professional Equipment Actually Does That a Shop Vac Cannot
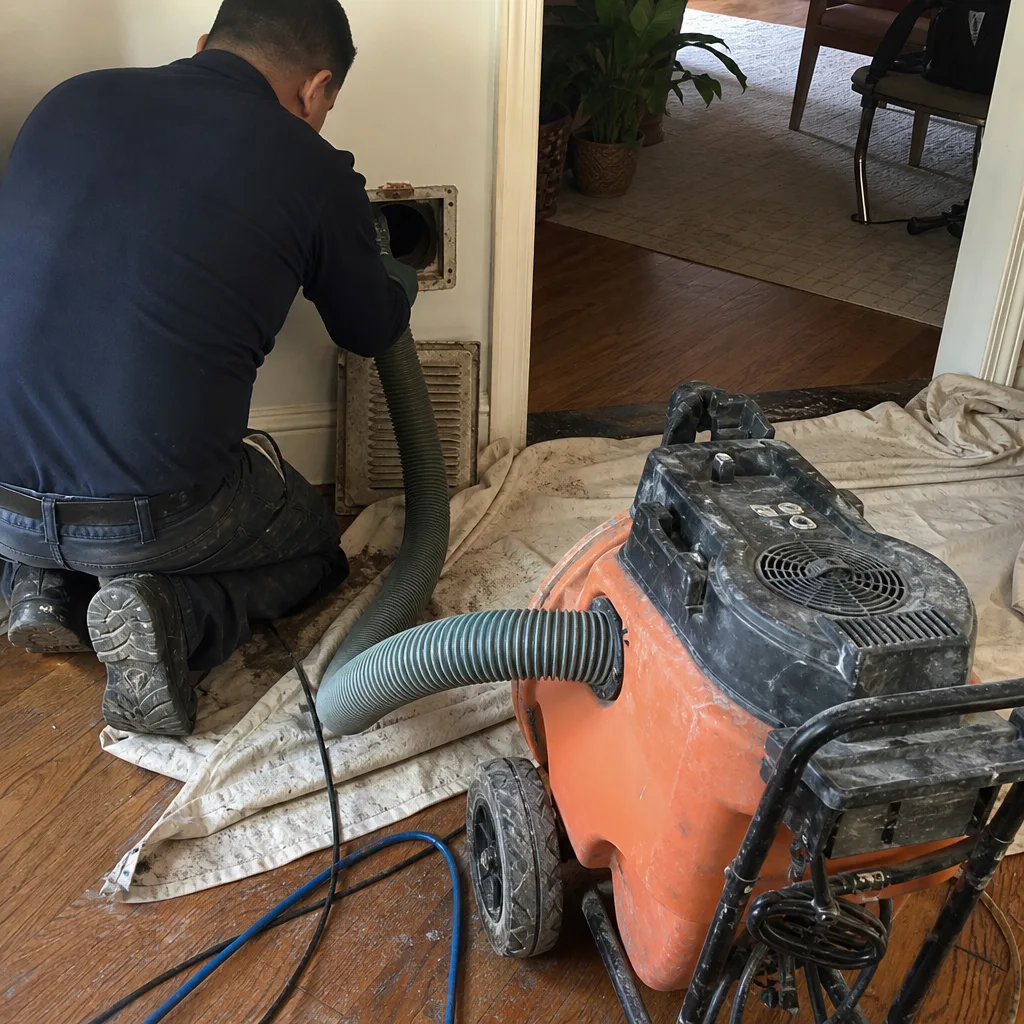
The core difference between professional air duct cleaning and a DIY attempt comes down to air pressure. A professional cleaning uses a negative-air machine, either truck-mounted or portable, that pulls between 2,000 and 4,000 cubic feet per minute of suction. The machine connects to the duct system through a large hose, usually 8 to 12 inches in diameter, and creates a vacuum inside the entire duct network before any cleaning tool touches the inside of a vent. Once the system is under vacuum, every registered vent gets sealed with foam covers or temporary magnetic seals so the suction pulls from one direction only: inward, toward the collection point.
That’s the stage most homeowners never see in DIY videos. The vacuum is running, the system is negatively pressurized, and then the agitation tools go to work. Rotobrush rotary brush systems spin fast and flex inside the duct to knock debris off the walls, but because the duct is under continuous negative pressure, the loosened material travels toward the collection hose instead of bouncing around and resettling elsewhere. Nikro negative-pressure units serve the same function with high-volume airflow and HEPA filtration at the collection point. Abatement Technologies filtration systems trap the particles before they can escape into the living space. Compare that to a shop vac attached to a drill brush, which pulls at most a few hundred CFM through a 2-inch hose. The brush dislodges debris, but the weak suction only captures what happens to pass near the hose opening. Everything else either falls back to the duct floor or pushes deeper into the trunk line.
We’ve watched homeowners open a supply register cover, shine a flashlight into the first 18 inches of duct, see dust, and assume that’s all there is. Then we put a camera scope into the main trunk and show them the accumulation sitting 8 to 12 feet beyond what their brush kit could ever reach. The professional advantage isn’t a better brush. It’s the negative pressure environment that gives the brush meaningful work to do. Without it, agitation without collection is just rearranging dirt.
For homeowners in New York, where duct systems run through concrete floors, behind lath-and-plaster walls, and through fire-rated penetrations, the difference matters even more. The professional equipment at the Kestrel Air Duct New York home level of operation involves sealed access points cut into the trunk line, cleaned with powered brushes, then resealed to manufacturer specification. That access is the only way to reach the full length of the duct, and putting that access in correctly is the difference between a clean system and one that leaks conditioned air into a wall cavity.
The DIY Tasks That Genuinely Help Between Professional Cleanings
None of this means homeowners should do nothing between professional cleanings. There’s a narrow but real category of maintenance that belongs to the homeowner, and doing it well extends the life of a professional cleaning by keeping surface-level debris from migrating into the system. Here’s the honest list of what makes sense to do yourself in a New York home:
1. Vacuum Grille Faces Monthly
The vent covers on your walls, floors, and ceilings collect dust and pet hair constantly. Use a standard household vacuum with a brush attachment to go over every supply and return grille face in the house. This takes 15 minutes and prevents the surface accumulation from being drawn into the duct when the system cycles on. Remove a grille only if it comes off easily and you can reach the visible opening with a vacuum hose. Do not stick a spinning brush into the duct opening unless you have a vacuum running at the same time and even then, understand you’re only cleaning a few inches.
2. Wipe Supply Diffusers With a Damp Cloth
Supply diffusers, the directional vent covers usually mounted on walls or ceilings, collect a thin film of dust that gets baked on by warm air in winter. A damp microfiber cloth removes that film effectively. Dry the diffuser with a clean cloth before reactivating the system. This is a dust removal task, not a duct cleaning task, and it prevents that film from flaking off into the airstream.
3. Check the Filter Seat Seal Every 60 to 90 Days
When you change your HVAC filter, run your fingers along the edges of the filter slot. A filter that doesn’t seat tightly against its slot allows unfiltered air to bypass the media entirely. That bypass air carries whatever dust and debris is in the return side of the system straight into the blower and out through your supply ducts. The fix is usually as simple as adjusting the filter retainer or using a filter with a thicker gasket edge. If the filter slot is bent or damaged, it’s worth having a professional look at it, because the same bypass that reduces air quality also reduces the load the filter protects the blower from.
4. Keep Return Air Paths Clear
Return air vents need open space in front of them to operate. Furniture pushed against a wall return, rugs covering a floor return, or stacked boxes blocking a hallway grille all starve the system for airflow. Restricted return air causes the system to pull harder on any available gap, which draws dust through wall cavities and around filter edges. Walk your home every few months and check that every return grille has at least 6 inches of clear space.
These four tasks are the legitimate DIY maintenance zone. None of them require specialized tools, none of them risk damaging the duct system, and none of them create the false security of thinking the duct interior is clean when it isn’t. When someone asks us if there’s anything they can do themselves, this is the list we give them. For everything beyond this, the equipment math starts working against the homeowner.
Why New York Duct Geometry Defeats Brush Kits
Duct systems in New York are not like the simple diagram on a DIY brush kit package. The city’s housing stock runs from prewar co-ops with galvanized steel ducts to postwar brick walkups with asbestos-wrapped trunk lines to modern high-rise apartments with flexible ducting squeezed into tight ceiling cavities. Each of those systems presents an access problem that a drill-mounted brush cannot solve.
Consider the typical brownstone retrofit. Original construction likely had no central air at all. When the HVAC system went in, often decades after the building was erected, the installers had to route ducts through existing floor joists, around structural beams, and up through closets. The result is long horizontal runs with multiple elbows, vertical risers that break the line of sight from any single access point, and transitions that change duct size mid-run. A brush kit on a 10-foot flexible rod can push through a straight section of duct, but at the first 90-degree elbow, that rod binds. The brush spins before the bend, dislodges some debris, and then any debris past the elbow remains untouched. The homeowner sees dust on the brush and assumes progress. What they’ve actually done is agitate the debris closest to the vent, where it’s most visible, and leave the deeper accumulation exactly where it was.
High-rise buildings add another layer of difficulty. Vertical risers carry conditioned air through fire-rated shafts. The duct inside those shafts is often wrapped in fire blanket or insulation, and access is limited to the openings at each floor level. A brush kit can’t navigate a vertical riser at all because gravity pulls the rod and brush downward, away from the duct walls. Any cleaning effort in a riser without professional negative-air equipment just loosens material that then falls under its own weight into the unit below or collects at the bottom of the shaft.
Flexible ducting, common in newer high-rise retrofits and many renovated New York apartments, is even less forgiving of DIY cleaning. Flex duct consists of a wire coil covered with a plastic or foil sheath. The coil’s ridges create thousands of small collection points where fine dust accumulates. A rotating brush that’s too stiff can catch a ridge, tear the inner liner, and turn a cosmetic cleaning into an air leak that sends conditioned air into a wall or ceiling cavity. We’ve recommended leaving flex duct alone unless a professional is doing the work, because the cost of repairing a torn flex run usually exceeds the cost of having the whole system cleaned correctly the first time.
The Camera Scope Reality Check
The single most persuasive tool we use in New York homes is the camera scope. It’s a small camera on a long flexible cable that runs through the duct and shows, in real time, what’s actually inside. Homeowners are routinely surprised to learn that the vent they vacuumed diligently for years opens into a duct that runs 14 feet to the trunk line, with visible accumulation starting at around the 6-foot mark. The brush kit they used reached 4 feet. The last 8 feet never got touched. In our experience, seeing that footage once settles the DIY-versus-professional question permanently, because the homeowner now understands the geometry of their own system.
The Honest Cost Comparison: DIY vs Professional
Let’s put real numbers on both approaches so you can decide with the actual trade-offs in front of you. These figures are for a typical New York home with 8 to 14 vents and a single HVAC system.
| Approach | Equipment Cost | Time Investment | What You Get |
|---|---|---|---|
| DIY drill brush kit | $40 to $120 | 3 to 5 hours for a first attempt | Partial cleaning of the first few feet of accessible duct. No negative pressure. Debris left past the reach of the brush. |
| DIY shop vac + hose extensions | $60 to $150 if you already own the vac | 2 to 4 hours | Visible debris removed from grille openings and the first 2 to 3 feet. Zero meaningful cleaning in the trunk line. |
| Professional negative-air cleaning | Most New York homes run between $450 and $900 | 3 to 6 hours on site, depending on access | Full-system vacuum, powered brush agitation of all accessible duct surfaces, camera scope verification before and after, HEPA-filtered collection. |
The DIY cost savings are real. A homeowner buys a $60 brush kit and spends an afternoon on the project. But what they’ve actually purchased is a partial cleaning with no verification that the interior of the system is clean. The professional price, by comparison, includes something a brush kit can’t provide: the camera scope records of what the duct interior looked like before and after the work. If the homeowner’s goal is cleaner air, the professional route delivers. If the goal is simply to remove visible dust from vent openings, the DIY maintenance tasks we outlined earlier do that for less than $20 in cleaning supplies.
We’ve also noticed a pattern in New York: the homeowner who tries DIY duct cleaning with a brush kit typically does it once. The time investment doesn’t feel burdensome, but the creeping doubt about what wasn’t reached leads most people to call for a professional cleaning within a year anyway. So the real math is often $60 for the kit plus the professional fee, not the kit instead of the fee. The Air Duct Cleaning in New York options available through a company like ours work differently: the written price is agreed before the equipment comes off the truck, and the camera scope verification is part of the job, not an add-on.
Why Some Professional Quotes Are Much Cheaper
The New York market has a wide spread in professional duct cleaning prices, and it’s worth knowing why. Companies that charge $200 to clean every vent in the house are usually using portable equipment with low CFM output, or they’re running a bait-and-switch operation where the $200 price turns into $1,200 after the technician “discovers” additional work. The legitimate professional baseline for New York is higher because real negative-air equipment is expensive and the labor to do the job right, including cutting and resealing access points, takes time. The Kestrel Air Duct New York home approach with the Kingswell Guarantee means the written price is the price, period. That doesn’t make us the cheapest option in New York, and we’re fine with that. It makes us a predictable one, which is what most homeowners actually want after the first pricing surprise.
How to Evaluate Your Specific System Before Deciding
Three variables determine whether a DIY duct cleaning attempt is even feasible in a New York home, and evaluating them honestly will save you either wasted effort or wasted money. Here’s how to assess each one:
1. Access Point Locations
Walk through your home and locate every place someone could physically reach the inside of the duct system. In most New York homes, the only natural access points are the vent openings themselves. If your ducts run through finished ceilings, concrete slabs, or masonry walls, there’s no attic or basement with exposed ductwork to access. That means the only way to clean the system thoroughly is to cut professional access points into the trunk line, which requires equipment and sealing knowledge that goes beyond a drill and a hole saw. If all your ductwork is hidden, DIY cleaning isn’t just less effective, it’s structurally incomplete because you can’t reach the places where debris actually accumulates.
2. Duct Material
The material your ducts are made of determines how aggressive a cleaning method they can tolerate. Sheet metal ducts are the most robust and handle brush agitation well. Flex duct, as we mentioned, tears easily when a rotating brush catches the inner liner. Fiberglass-lined ducts, common in many older New York buildings, are the trickiest because the lining itself is a dust trap and aggressive brushing can damage the insulation surface. If you have flex or fiberglass-lined ducts, a DIY brush kit is a risk you don’t need to take. Professional cleaning adapts the agitation method to the material.
3. System Age and Renovation History
New York buildings that underwent major renovations often have duct systems that were partially replaced, partially patched, and partially abandoned. Dead-ended ducts from removed rooms, disconnected runs from previous reconfigurations, and gaps at old register connections all create places where debris accumulates that normal airflow doesn’t move. A system with this history won’t respond well to any surface cleaning approach, professional or otherwise, until the structural issues are identified. A camera scope is the diagnostic tool, and it’s worth the cost of a professional evaluation even if you decide to handle other aspects of home maintenance yourself.
What the DIY Videos Don’t Show
The DIY duct cleaning videos that circulate on social media follow a consistent format. Fresh batteries in the drill. Brush attached to the flexible rod. Registers removed one by one. The camera shows the brush spinning in the duct and dust visible on the bristles when it comes out. Conclusion: DIY works. What those videos never show is the debris that wasn’t reached. Here’s what’s actually happening mechanically:
The brush agitation without negative pressure resuspends fine particles. When a brush spins inside a duct without a vacuum pulling air out of the system, the fine dust that the brush dislodges becomes airborne inside the duct. Some of it gets pulled through the system when the furnace blower next cycles on. Some of it settles back onto the duct floor, now looser than it was before. A percentage of it comes back into the living space through grille openings during the cleaning itself. The brush removed the visible chunkier debris from the vent opening, but the fine particulate you actually breathe wasn’t captured at all.
The camera never goes deeper than the brush reaches. A homeowner cleaning their own ducts has no camera scope, so they have no way to verify what the interior of the trunk line looks like. The visual feedback loop is limited to what comes out on the brush and what a flashlight shows through the vent opening. The professional process includes before-and-after camera scope records, which is the only honest way to verify the work.
The Professional Sequence, Step by Step
To understand what professional cleaning accomplishes, it helps to follow the sequence a trained technician uses on a New York job:
- System inspection. The technician opens access points and runs a camera scope through the entire duct network to establish a baseline. This shows what’s actually there before any cleaning begins.
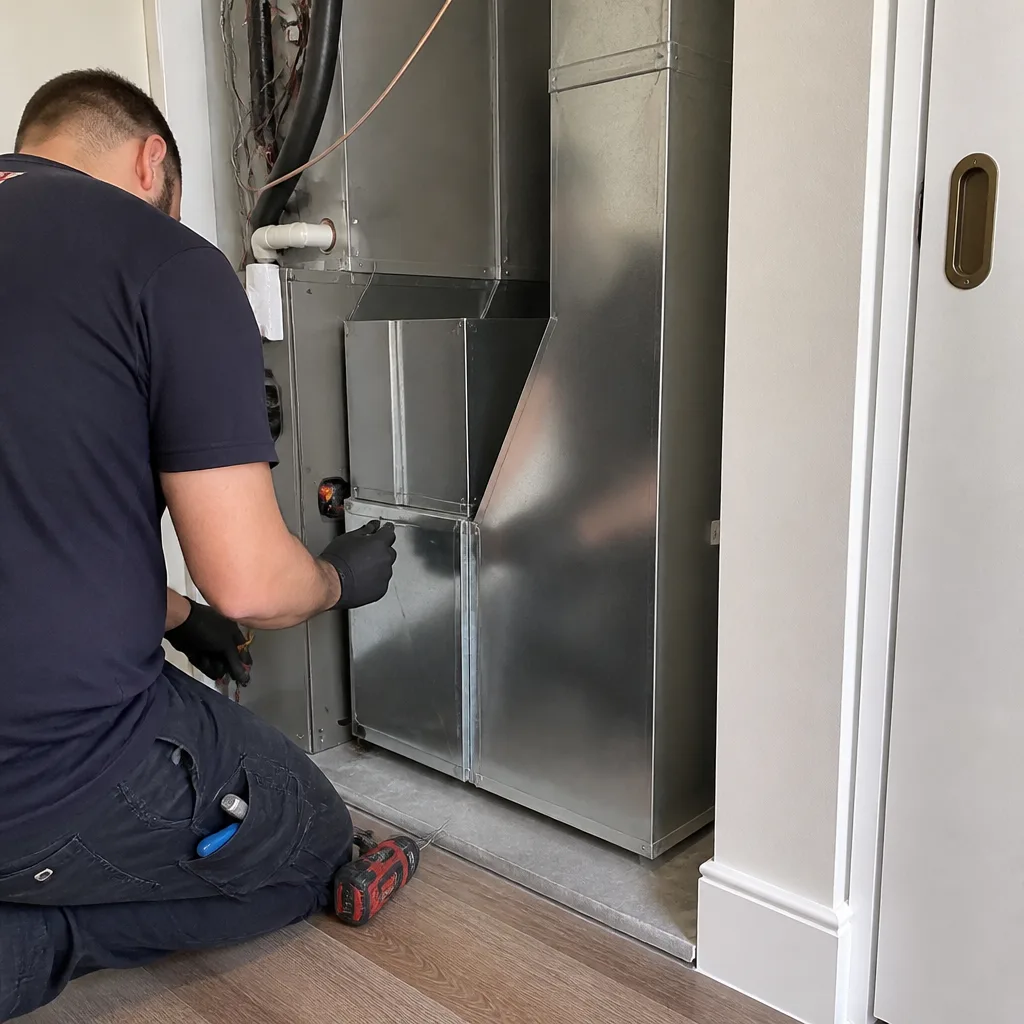
- Negative-air machine connection. A truck-mounted or high-powered portable negative-air unit connects to the main trunk line. The machine is started before cleaning begins, and it runs continuously through the entire job to hold the system under constant vacuum.
- Register sealing. All supply and return grilles get sealed with temporary covers so the vacuum pulls only from the main collection point and no debris can escape back into the living space.
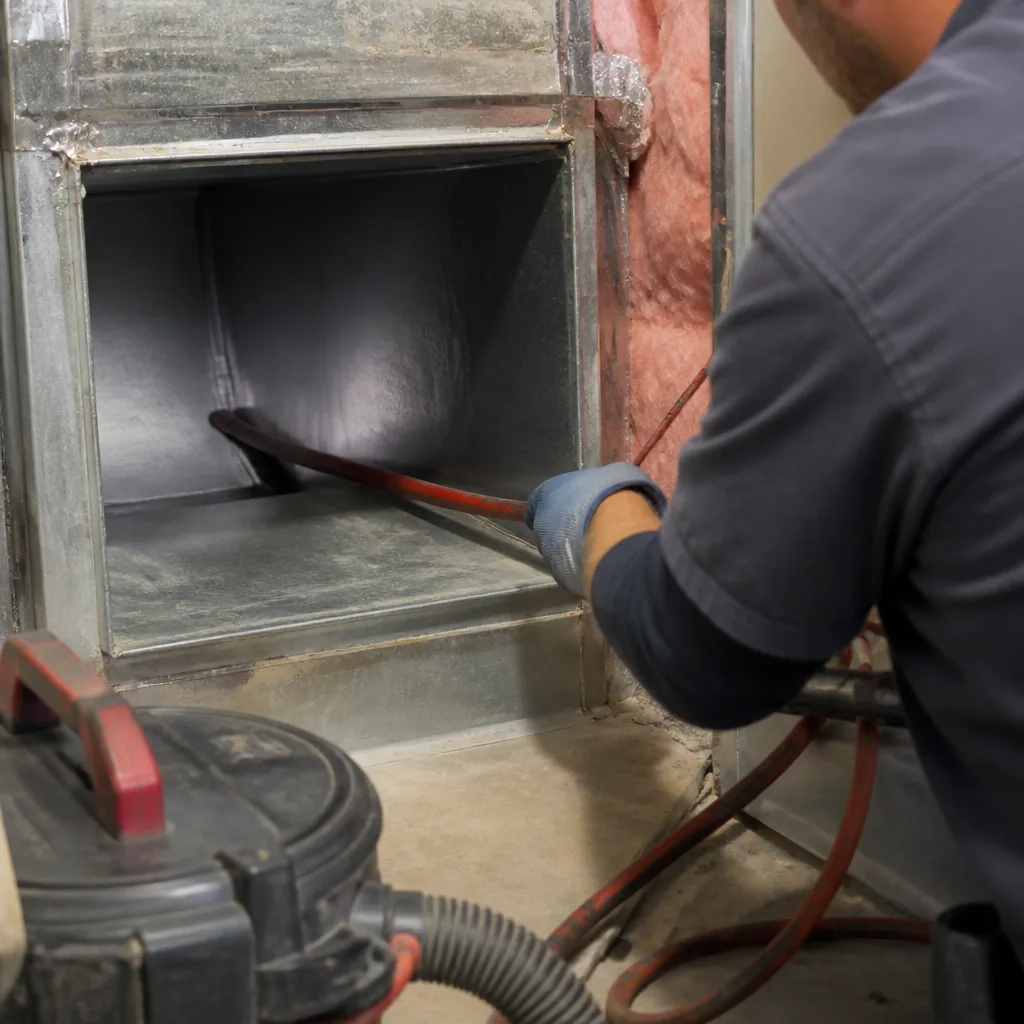
- Brush agitation. Rotobrush rotary brushes or pneumatic agitation tools are inserted through access points and run through the duct system. Because the system is under negative pressure, all loosened debris travels toward the collection point rather than resettling.
- Collection and filtration. The debris pulled out of the ducts passes through the negative-air machine’s filtration system, which uses HEPA media from companies like Abatement Technologies to trap particles before the exhaust air is released.
- Post-cleaning camera scope. The technician runs the camera through the system again to document the result. The before-and-after footage is the verification that the work was actually done.
- Access point resealing. Any access points cut for the cleaning are resealed with proper duct patch material and foil tape rated for HVAC use. The area is left clean.
This sequence is why the professional result differs so dramatically from a brush kit. The vacuum is not an assist, it’s the active mechanism that determines where the debris goes. And the camera scope is not an add-on, it’s the verification step that turns a claim into a record. Honeywell filtration and Guardsman products for ongoing air quality maintenance complement this work for homeowners who want to keep the system clean between professional visits, but the cleaning itself depends entirely on that negative-air environment.
Common Mistakes to Avoid
- Using a drill brush without any vacuum running. This is the single most common DIY error. The brush dislodges debris, the blower later pushes it through the system, and the homeowner ends up with dirtier air than before the project started. Any brush agitation must be paired with active suction, and a shop vac is simply not enough suction to matter.
- Sticking a vacuum hose through a vent opening and calling it done. A household vacuum through a 4×10 vent opening can reach perhaps 24 inches into the duct. The main trunk line, where accumulated dust actually collects, remains untouched. This creates the impression of cleaning without the substance.
- Using compressed air cans or air compressors to “blow out” the ducts. Blowing air into a duct pressurizes the system, which forces fine dust through gaps in the duct joints and into wall cavities, ceiling plenums, and the living space. Professional cleaning works on negative pressure, not positive pressure, for exactly this reason. We’ve seen New York apartments after careless compressed-air attempts, and the dust deposit on every nearby surface is substantial.
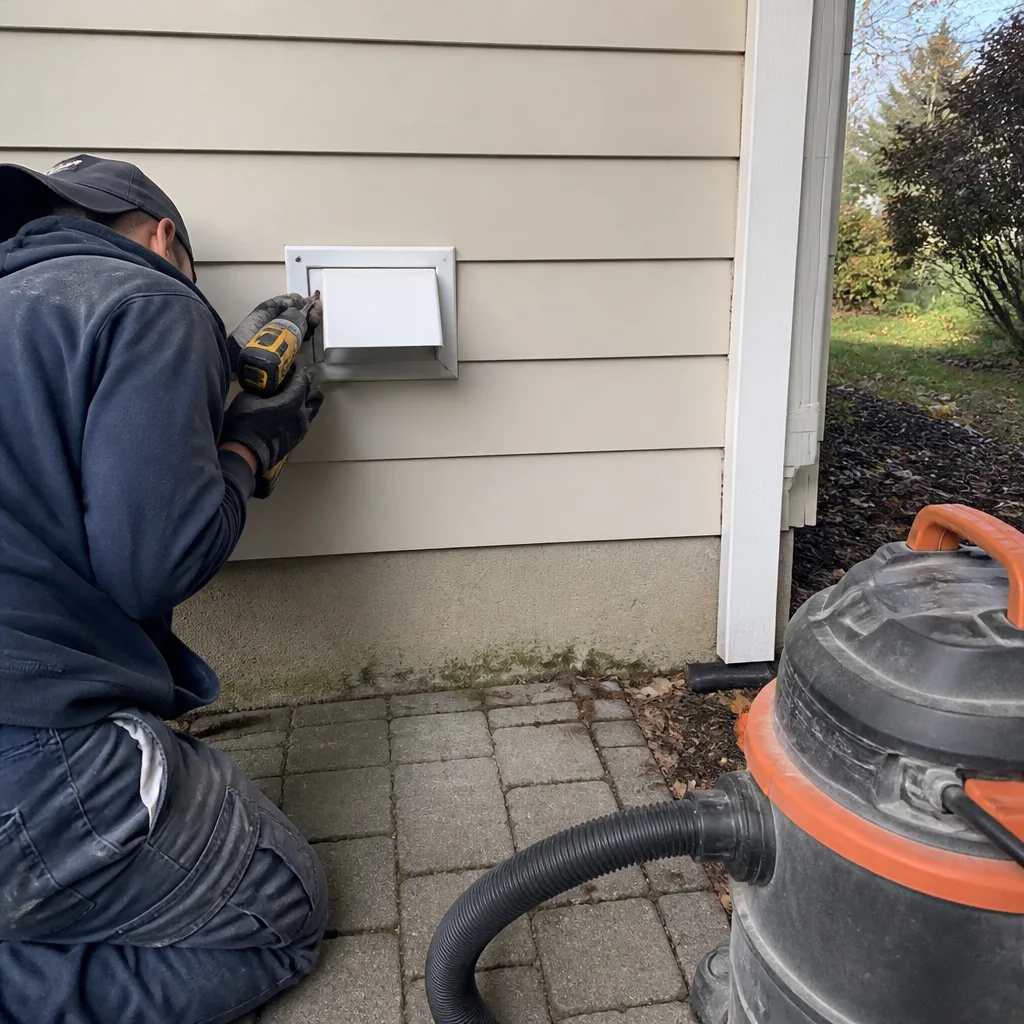
- Ignoring the dryer vent because it’s not part of the HVAC system. The Dryer Vent Cleaning in New York discipline is separate from HVAC duct cleaning, but homeowners doing DIY work often conflate the two. A dryer vent clogged with lint is a fire risk, and a shop vac through the interior opening won’t clear a multi-story lint accumulation. This one deserves professional attention specifically because lint fires are the most preventable home fire category in New York’s dense housing.
- Assuming the furnace filter catches what the cleaning misses. A standard furnace filter protects the blower from large particles, not the home’s air from fine particles. The dust that a DIY cleaning fails to capture will not be caught by the filter, because the filter sits upstream of the blower and downstream of the return duct. The air comes back.
- Believing the duct cleaning company that quotes $199 for unlimited vents. The New York market includes operators who use low-ball pricing as a door opener and then invent additional charges once the truck is parked. A legitimate professional cleaning with real negative-air equipment and camera scope verification costs more because the equipment and labor cost more. If the price looks too low to support the work, it is.
- Delaying cleaning because the home is new to you. Purchasing an older New York home or apartment means inheriting the duct condition from every previous occupant. Construction dust from prior renovations, pet hair from three owners ago, and years of deferred maintenance all sit in the duct system. A camera scope is the only way to know what you bought, and many homeowners schedule a professional duct cleaning with Air Duct Cleaning in New York specialists as part of the move-in process for exactly that reason.
When to Call a Professional
If any of these conditions apply to your New York home, stop the DIY calculation and call a professional. You see visible dust or debris on grille faces within days of cleaning them. Someone in the household has allergies, asthma, or respiratory sensitivity that air filtration isn’t controlling. You recently completed renovation work that produced drywall dust, and the HVAC system ran during construction. Your ducts are made of flex or fiberglass-lined material. Your home has multiple stories with vertical duct risers. You smell a musty odor when the system starts. You’ve owned the home for more than five years and have no record of prior duct cleaning. Kestrel Air Duct New York offers free estimates in New York with camera scope verification included. Call (585) 517-2324 to talk to a live person about what your system needs.
Frequently Asked Questions
Most New York homes run between $450 and $900 for a complete system cleaning with negative-air equipment, brush agitation, and camera scope verification, depending on the number of vents and the accessibility of the trunk line. The written price is agreed before work begins under the Kingswell Guarantee. Call (585) 517-2324 for a free estimate specific to your system.
No. A shop vac pulls a few hundred CFM through a 2-inch hose, which is insufficient to capture debris beyond the first few feet of the duct opening. Professional negative-air machines pull 2,000 to 4,000 CFM and hold the entire system under vacuum during cleaning, which is the mechanical requirement for effective debris collection.
Every 3 to 5 years for most New York homes, more frequently if you have pets, recent renovation debris, or household members with respiratory conditions. The interval depends on system use, filter maintenance, and local conditions like urban dust infiltration, which runs higher in New York’s denser neighborhoods than in suburban environments.
Negative-air extraction means a powerful vacuum machine connects to the duct system and holds the entire network under continuous suction while cleaning tools work. This ensures loosened debris travels toward the collection point instead of resettling inside the ducts or escaping into the living space. It’s the single most important difference between professional results and DIY attempts.
In New York, a $199 whole-house offer cannot cover the cost of legitimate negative-air equipment, trained labor, and camera scope verification. These offers typically function as door openers, with the quoted price covering a basic inspection and additional charges added once the technician is on site. Legitimate professional cleaning with written pricing runs higher because the actual work costs more.
Vacuum grille faces monthly, wipe supply diffusers with a damp cloth, check your filter seat seal every 60 to 90 days, and keep return air paths clear of furniture. These tasks prevent surface debris from entering the system and extend the value of professional cleanings. They do not replace professional cleaning of the duct interior.
Request before-and-after camera scope footage from the technician. This is the verification step that documents the duct interior before the cleaning begins and after it’s complete. Any professional cleaning that doesn’t include camera scope verification leaves you with no way to confirm the work. Call (585) 517-2324 to ask Kestrel Air Duct New York about our camera scope documentation.
The Bottom Line
The DIY-versus-professional decision for air duct cleaning in New York comes down to a mechanical boundary: you can handle surface maintenance, but you cannot create the negative-air environment that makes interior cleaning real. Buy the $10 microfiber cloth and the vacuum brush attachment. Vacuum grille faces, wipe diffusers, check filter seats. Leave the interior of the ducts to equipment that holds the system under vacuum while it works, and verify the result with camera scope footage. That’s the honest split. For a free estimate with written pricing in New York, call Kestrel Air Duct New York at (585) 517-2324. A live person answers.
Written by Dale Whitmore, Owner at Kestrel Air Duct New York, serving New York since 2004.
See the difference
 Before
 After
After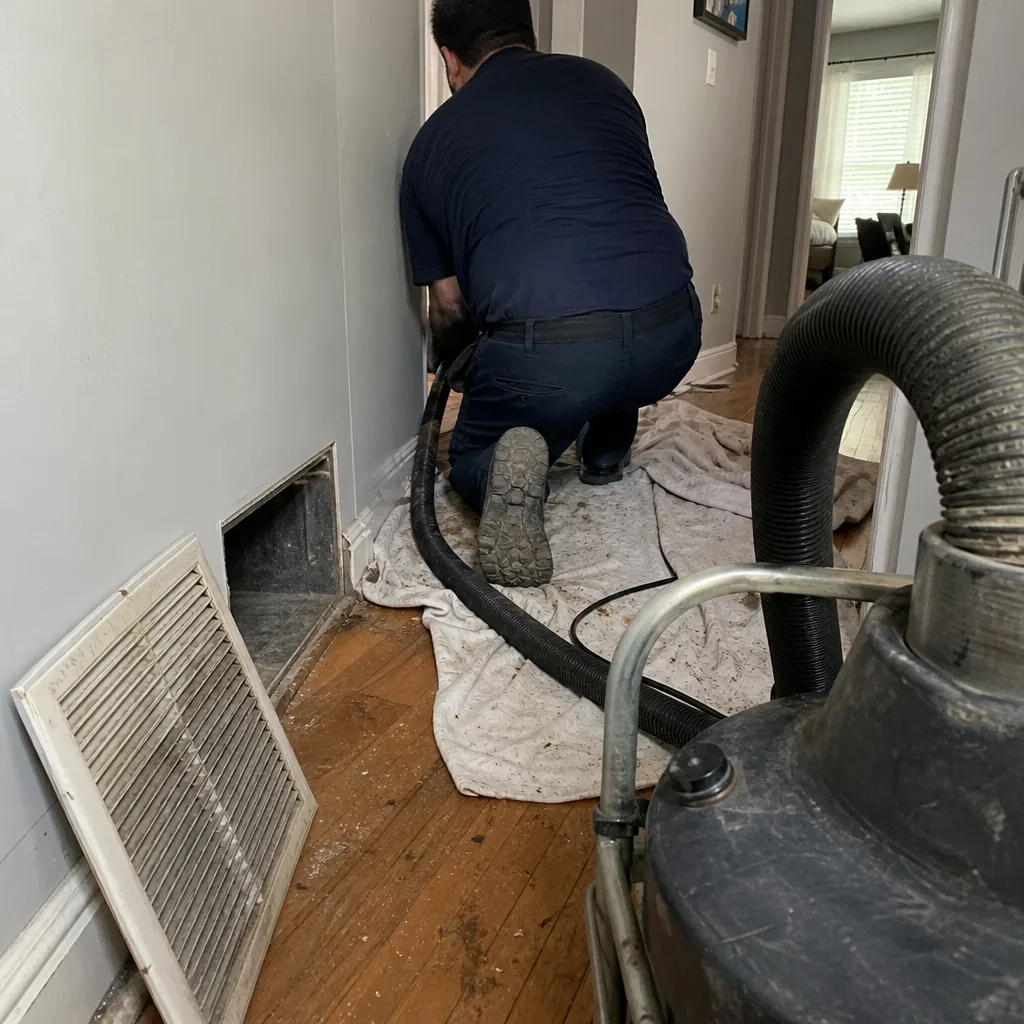 Before
 After
After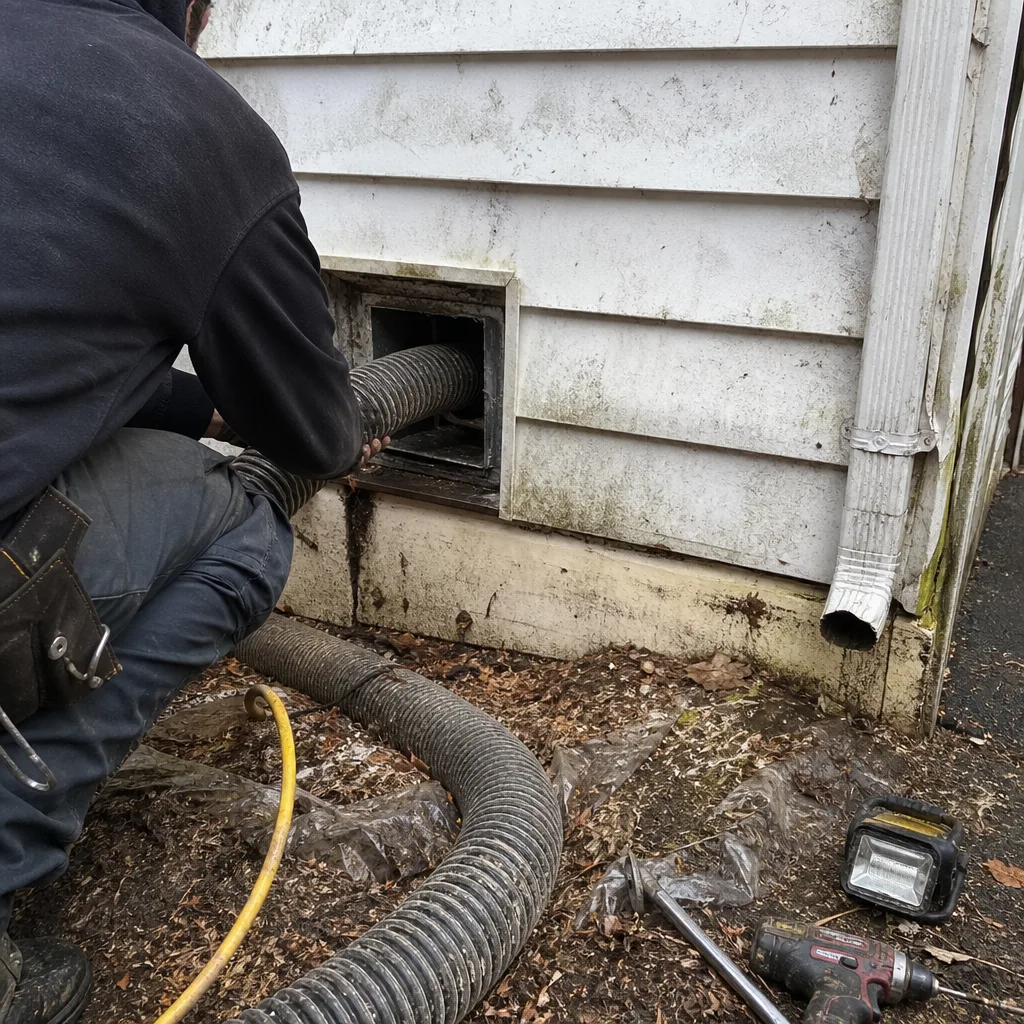 Before
 After
After